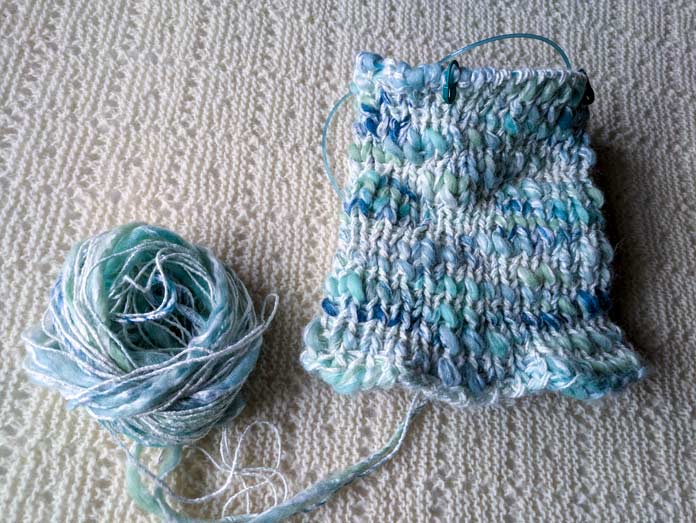
When I first started swatching the thick and thin UNIVERSAL YARN Bamboo Bloom Handpaint, I expected the fabric to look chunkier. While experimenting with different stitches, I wanted a chunkier fabric to emphasize this yarn’s rustic, artisanal look.

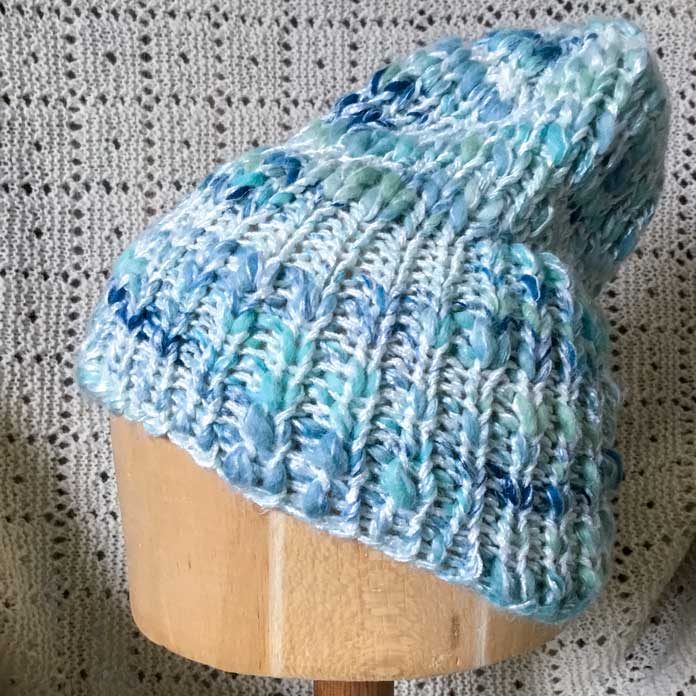
The cozy hat is knitted with two strands of yarn.
Yesterday, I knitted a hat that was simple and quick to make for gift-giving for the holidays. Today, I will try to see what happens when you work with two strands of Bamboo Bloom Handpaint yarn held together.
Even though I thought the thick and thin portions would alternate, I ended up with portions where both strands were thin or thick.
I used 10½ US [6.5mm] needles, and after swatching a few stitch patterns, I concluded that the 1 x 1 ribbed fabric has the look I wanted to achieve a bulky and rustic effect.
Trying it out with another small project will help me get the feel of the double-thickness fabric and make a wonderful stocking stuffer or even a holiday gift. The decreases in shaping the hat are done in four points, which is a popular look for this winter.
Pattern
One Size
materials
yarn
- 2 skeins of UNIVERSAL YARN Bamboo Bloom Handpaint
needles
notions
- stitch markers
- tapestry needle
gauge 12 stitches and 18 rows over stockinette stitch over 4” [10cm] square in stockinette stitch
Note: The hat is knitted bottom up in a 1 x 1 rib stitch, using two strands of the yarn held together throughout.
abbreviations
k n – knit n stitches
pm – place marker
slm – slip marker
CHUNKY RIBBED HAT
Using two strands of yarn held together, cast on 56 stitches.
Join for knitting in the round and place a marker to mark the beginning of the round.
Rnd1 (and all the rounds up to the beginning of the decreases for the crown): *P1, k1** repeat from * to ** to the end of round.
Continue in this manner until the hat measures 7 – 7¼”.
Next round (set up round for crown decreases): work 7 stitches, *pm, work 14 stitches”, work 7 stitches. All the markers should be placed before a knit stitch.
Round 1 of decrease: Work stitches as they appear (knit the knit stitch and purl the purl stitch) up to 1 stitch before the marker.
Remove the marker and place the stitch back on the left needle.
Centered decrease:
Slip two stitches as if to knit from the left needle to the right needle, knit the next stitch, pass the two slipped stitches over the knit stitch (2 stitches decreased). Place the marker back one stitch before the centered decrease if needed.
Continue to the end of the round making a centered decrease after each marker; 8 stitches decreased.
Round 2 of decrease: Work stitches as they appear (knit the knit stitch and purl the purl stitch).
Alternate round 1 and 2 until 8 stitches remain.
Break yarn. Using a tapestry needle, thread the end through the remaining 8 stitches and pull the yarn tight to secure the stitches.
Weave in all ends.

Chunky hat worked with two strands of yarn held together.
The fabric looks artisanal and rustic, and it feels squishy and warm. I think I got the look and feel I was after.

Front, back, and side pictures of the hat knitted with two strands of Bamboo Bloom Handpaint

Three skeins of Bamboo Bloom Handpaint yarn.
Join me again tomorrow for the last quick and fun knitting projects in this series that make excellent holiday stocking stuffers, exploring UNIVERSAL YARN Bamboo Bloom Handpaint.
