
Yesterday’s post saw us through the most challenging section of knitting the Palomar Top – the underarm and neckline shaping. Today’s post presents a relatively straightforward technique, albeit a somewhat tedious one. I’m making I-cord, using a set of KnitPro Ginger Double Pointed Needles – and making lots of it!
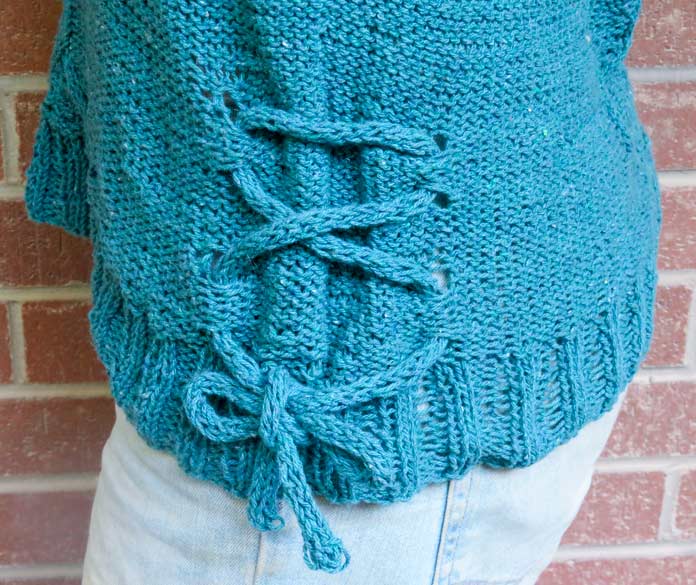
The Palomar Top shows off with some beautiful design elements using I-cord; knit with Bella Tweed Yarn in Care colorway
First, what, exactly, is I-cord?
I-cord stands for the unfortunately named ‘idiot cord’. The myth states that Elizabeth Zimmerman named it thus because she thought anyone could make it; however, that claim is somewhat in question. What isn’t in question, though, is that she took the technique (originally called Victorian “Stay Lace”) and brought it into the modern knitting world, making it on two knitting needles, rather than the traditional spools or ‘corkers’ that it had been otherwise usually worked on.
I-cord is, at its simplest, a long, very slender tube of knitting worked in the round. But, being only a few stitches wide, it’s impractical to work it in any of the traditional in the round methods of knitting. Instead, you can either use a spool (also known as a corker) or, as Elizabeth Zimmerman popularized, work it on two double-pointed knitting needles. As a long, thin strand of knitting, it’s incredibly useful for ties and cords – like you see in the Palomar Top.
The I-cord has also been adapted further into applied I-cord, where it’s knit right onto the edge of a garment, as well as an I-cord cast off.
How do you make one? It’s surprisingly easy.

Knitting up an I cord for the Palomar Top in Bella Tweed Yarn in Care colorway and using KnitPro Ginger 3.75 mm double-pointed needles.
If you’re working the Palomar Top, cast on 4 stitches onto one double-pointed needle. I’m using the KnitPro Ginger 3.75 mm double-pointed needles. If you’re working a different pattern, the pattern should tell you how many stitches wide your I-cord needs to be.
Additionally, I’m using 12.5cm-long double-pointed needles here. While you can use longer double-pointed needles to work an I-cord, in this case, the shorter needles tend to be easier to maneuver.
Then, knit one row. Don’t turn your work. Bring the yarn behind the work, and knit the row again. Then, do that again. And again, and yes, again. In case you missed it, you’ll be knitting I-cord for a while – the Palomar Top pattern calls for 36 inches of I-cord, and that’s only for one tie. You need two ties! But, knitting I-cord is the perfect time to put on a favorite show or podcast, and just power through it. Though it can be tedious, it’s often very worth it.
Once you get to the end of the I-cord, bind off your four stitches, fasten off, and weave the end of your yarn into the center of the I-cord to hide the ends.
And, there you have an I-cord- ready to tie up your Palomar Top!
It’s looking so good knitted in UNIVERSAL YARN Bella Tweed in Care. With the I-cords done, there’s only a teeny bit more finishing to do to get a finished Palomar Top. Tomorrow’s post is exactly that: the final little bits that make a finished top. Join me!
This is part 4 of 5 in this series
Go back to part 3: Help! Tackling shaping in the knitted Palomar Top with Bella Tweed yarn
Go to part 5: Putting the final touches on a Palomar Top