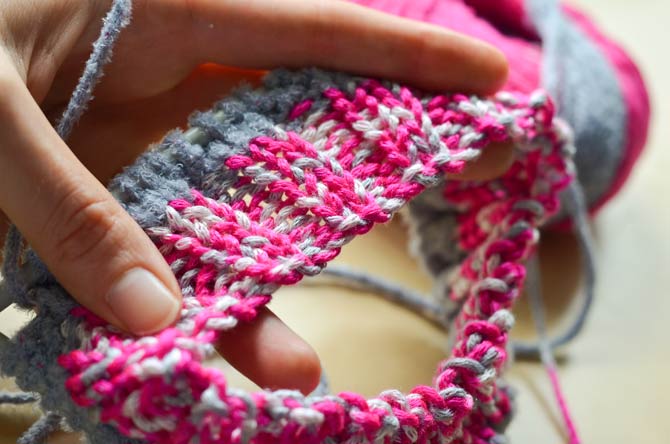
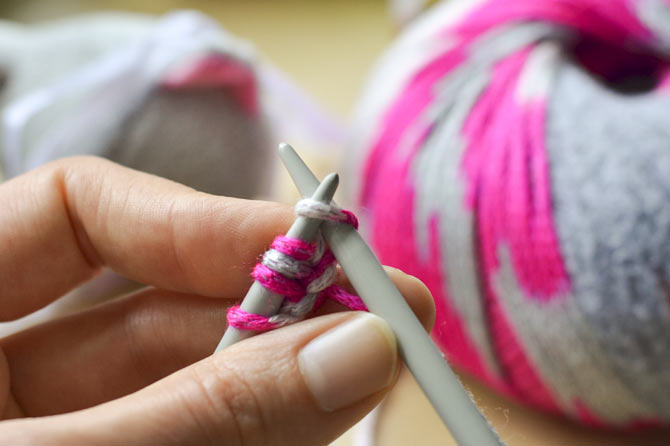
This week on the KNITmuch blog, we’re knitting up some children’s hats using the sweet Top This hat kits. One of the first cast on techniques many of us learn is the knitted cast on, which is a great first step because its steps mimic the knit stitch itself, so you can make the most of all the new skills you are learning as a new knitter. In today’s post we’ll get going, knitting with the cable cast on to start. If you’re new to knitting, learning a variety of cast on and bind off techniques is one of the most valuable steps you can take to expand your “tool box” of skills. Many of us have a favorite cast on or bind off that we use frequently, so you never know if one of those new techniques will become your new favorite!

The cable cast on gives a neat edge for both knit and purl stitches.
The cable cast on makes a neat edge that is a good choice for ribbing because it looks equally neat and tidy no matter if you’re looking at a “purl side” or “knit side” of the fabric. It’s also similar to the knitted cast on which makes it an easy 2nd cast on to learn. You don’t need it just for cabled knitting, though, so don’t be fooled by the name!
The next few photos demonstrate the steps for the cable cast on:

Start with a slip knot, then knit a 2nd stitch using the knitted cast on.

Insert your needle between the stitches, not into a stitch.

Wrap the yarn as if to knit a stitch.

Pull the loop through as you would for making a stitch.

Place the stitch onto the left needle, inserting the left needle through the ‘front’ of the stitch. (This turns the stitch a little bit).

Keep repeating these steps until you have the number of stitches you need.
As we can see in the photos above, the cable cast on is just a little bit different from the knitted cast on, with the main difference that we start by inserting the right needle between the first two stitches on the left needle, rather than through the actual first stitch. These are the steps for the cable cast on:
- Start by making a slip knot and placing it onto the left needle. Make a 2nd stitch knitwise by knitting into the slip knot and placing that stitch back onto the left hand needle. You now have 2 sts.
- Next, insert the needle in between the first 2 sts on the left hand needle.
- Wrap the working yarn around the right hand needle as you normally would when making a knit stitch.
- Pull the yarn through the two stitches to the front of the work.
- Place this new stitch back onto the left hand needle, inserting the left hand needle into the front of the stitch (this twists the stitch around slightly).
- Repeat steps 2-5 until you have the number of stitches you need.

For smaller hat sizes you may need to use double-pointed needles. Arrange your stitches equally among 3 working needles.
Above all, try to keep your cast on a little bit loose – if the stitches are too tight then you may end up with a very tight edge that is hard to slip over your head.
The Top This hat kits recommend starting with a 16″/40cm circular needle and then switching to double-pointed needles once you start decreasing at the top. However, if you’re knitting a smaller size, you might find it hard to fit the stitches around the circular needle (below), in which case you can start with the double-pointed needles (above) by dividing the stitches equally around 3 working needles. Use a 4th needle for knitting.

Larger hat sizes can easily use a 16″/40cm circular needle to hold all stitches in the round.
Now we’re ready to knit onwards! In our next post we’ll look at knitting in the round and some tips to keep in mind when you’re making your hat or anything else that is done with this circular technique. And if you’re looking to learn a new cast on technique, try knitting with the cable cast on for your next project!

3 comments
I found this to be a very interesting cast on technique and based on the first comment and reply I will try the alternating cast on for a stretchier sock ribbing.
Is there enough stretch in the cable cast on to use for the ribbing of a sock?
Hi Billie, a cable cast on is typically firm and not very elastic, but great for adding more stitches as you’re casting on. But if you want a stretchy cast on for your ribbed edge, try the alternating cable cast on. type in ‘alternating cable cast on’ on your browser for a how to video…