
I can’t get around a math book without a calculator, and calculus was a real challenge for me, but I did sit up and take notice the first time I saw hyperbolic shapes made from knitting and crochet. I’ll let others explain the details of hyperbolic fabric, but in this post, I’ll show you how I made an interesting little pine cone based on “hyperbolic knitting”.
Yesterday we looked at little knit gift boxes knit with Classic Shades Frenzy. For my pine cone ornament, I used its sister yarn, Classic Shades Sequins Lite.
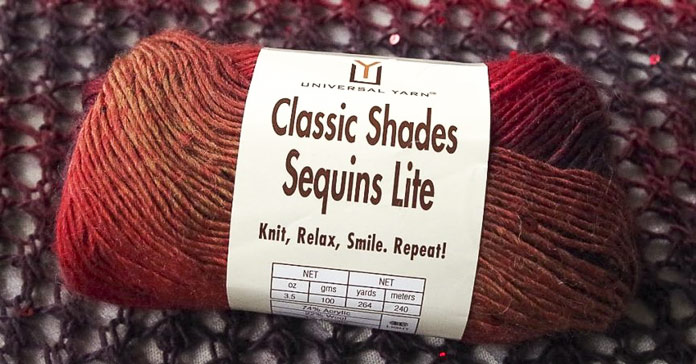
The sequins will sparkle when using this yarn to knit the pine cone ornament.

This little pine cone would be a lovely addition to any outdoorsy themed Christmas tree.
The hyperbolic pine cone ‘recipe’
With any yarn scraps you have and wish to use, and a pair of needles that is one size smaller than the one recommended on the ball band, cast on 6 stitches.
Row 1: K1, yo, k2, yo, k2, yo, k1. 9 sts
Row 2: [K2, yo] 4 times, k1. 13 sts
Row 3: Knit.
Row 4: [K2, yo] 6 times, k1. 19 sts
Row 5: Knit.
Row 6: [K2, yo] 8 times, k1. 27 sts

This little pine cone would be a lovely addition to any outdoorsy themed Christmas tree.
Row 7: Knit.
Row 8: [K2, yo] across to last st, k1.
Repeat last 2 rows until you have between 55 and 85 sts, according to your taste and the size you want.
Last row: *Bind off 4 sts, work bind off picot (see video below); rep from * across.
Fasten off and cut yarn leaving a 6″ [15cm] end.
Thread end onto a tapestry needle and weave the needle back and forth along the side toward the cast on edge, along the cast-on edge, and up the opposite side of the work towards the picot edge. Pull the thread to cinch up the fabric and secure the yarn with a knot.
Make 2 or 3 of these and join them together at the knot. Shape the gathered folds of fabric into spirals to produce an organic pine cone look.
This pattern gives a very organic look, and it might not even resemble a pine cone to some, but with different yarns and in a variety of colors, you can make some very interesting conversation pieces that will have a better story than the Christmas pickle.

Two hyperbolic pieces were joined at the “root” to make this pine cone ornament.
This is part 4 of 5 in this series.
Go back to part 3: How to knit and finish sturdy gift boxes
[shareaholic app=”follow_buttons” id=”23784471″]