
Yesterday, I showed you how my two lace panels for the Cygnus Top turned out and how pleased I was with the overall look of the lacework in the Orion colorway of the UNIVERSAL YARN Constellation.
After washing and drying the panels flat, the pattern shows well. I’m pleased with the stitch definition.
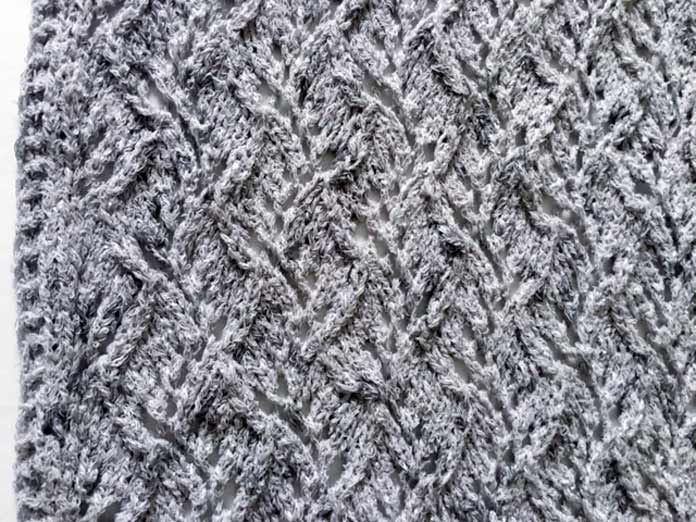
Close-up of the lace fabric after blocking
It’s time to remove the provisional bind off and cast on, then attach the panels in the middle. For this, I return the live stitches of the bottom of each panel on a separate circular needle, and I start with the right panel facing me (right side of work). I bind off 36 stitches.
The following 30 stitches are bound off together with the first 30 stitches of the second panel, using a three-needle bind-off. The difference is that both panels face me, with the right-side panel on top of the left-side panel. I continue binding off the remaining 36 stitches of the left side panel.
I repeat the same steps for the cast-on side, after removing the provisional cast-on and returning the live stitches on the needle.
Instead of sewing the sides, I use a crochet hook and use a slip stitch on the wrong side of the work to attach the front to the back. This gives a flat seam that does not add bulk.
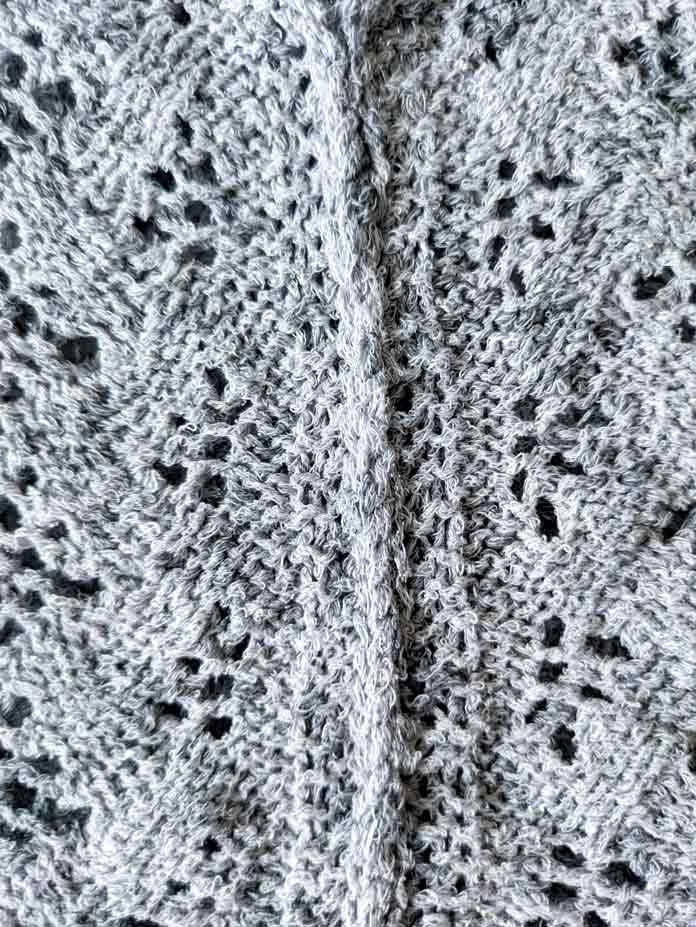
This is the wrong side of the crocheted slip stitch method!
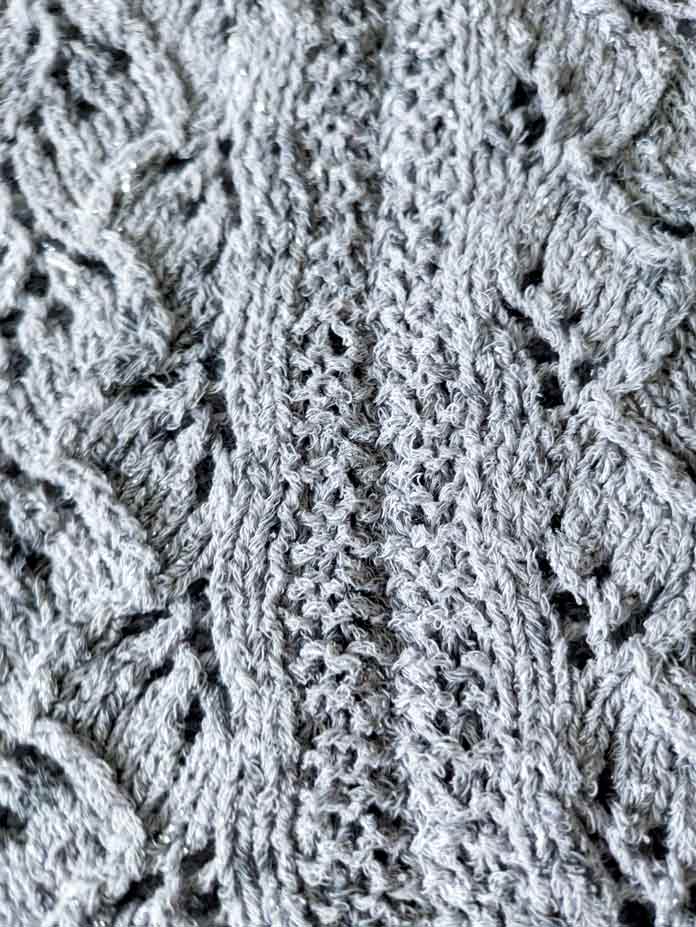
On the right side of the work, look how the seams lie flat using the crocheted slip stitch method!
I’m ready to pick up 204 stitches (102 for the front and 102 for the back) and continue in the round with the garter stitch bottom panel.
I change my needles to a smaller size as I’m worried that the band in garter stitch will stretch too much and therefore, I use LANTERN MOON Destiny Circular Needles 24 (60cm) – Size 3 (3.25mm).
After a few rounds, I can see the shape of the top!
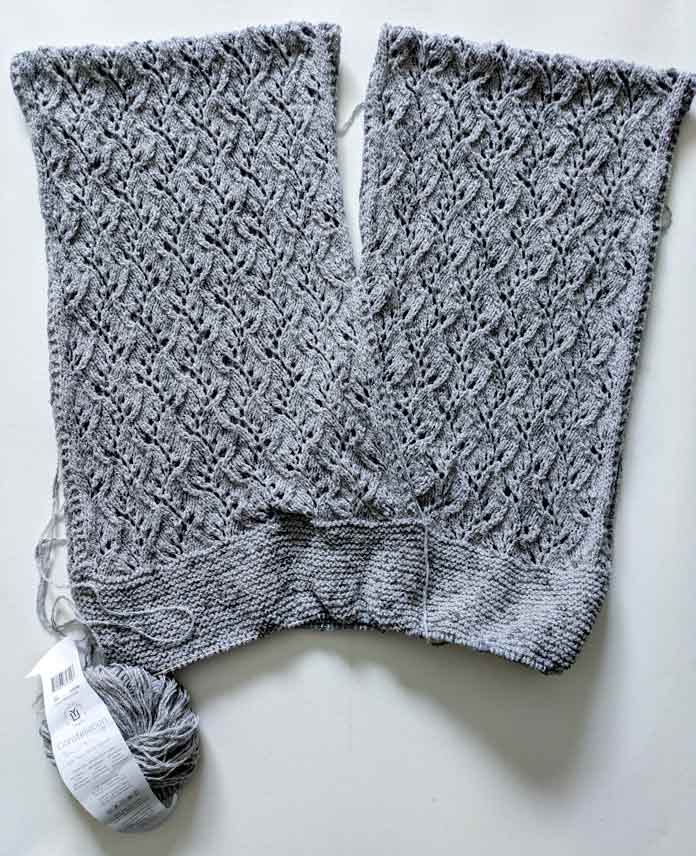
The lace panels are attached, and the garter stitch band is in progress.
Join me again tomorrow for the last post about the Cygnus Top knitted in UNIVERSAL YARN Constellation colorway Orion. It will make a lovely spring and summer addition to my wardrobe.
This is part 4 of 5 in this series
Go to back to part 3: Starting to knit the Cygnus Top with the finishing in mind | pro tips
Go to part 5: Finishing the Cygnus Top