
Hello and welcome to summer! Today, I’m getting started with the Palomar Tank pattern, designed by Aubrey Busek—a perfect tank top for the summer heat! I’m casting on in UNIVERSAL YARN Bella Tweed in “Care” colorway, and it’s an ideal yarn for this top. It’s a blend of recycled cotton and other fibres, which makes it perfect for a light summer top. I wanted to mention that the Bella Tweed has a few tiny white neps, likely from the cotton. I think they give the yarn a bit of character and make it even more appealing! Overall, I’m really enjoying it!
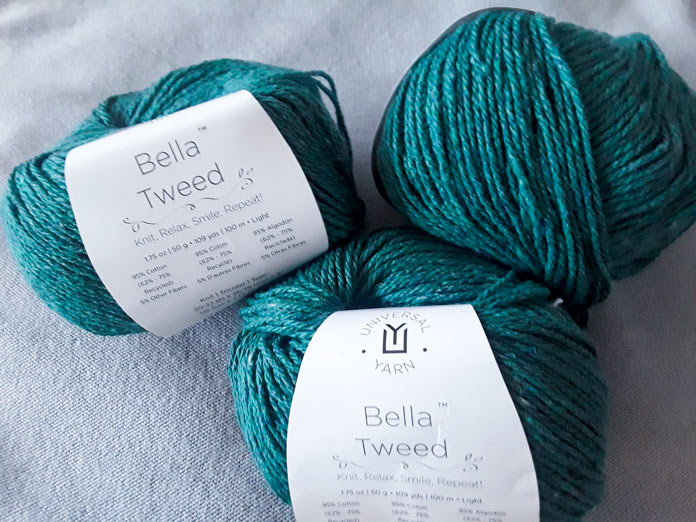
Three 50g skeins of UNIVERSAL YARN Bella Tweed in “Care” colorway
As for the knitting needles I chose…well, there’s a teeny bit of a saga.
The Palomar Tank calls for two needle sizes, and I choose the gorgeous Knit Picks Rainbow Wood Straight Needles for both: 3.75mm needles for the ribbing, and 4mm needles for the main body of the top. They’re 14 inches long, which I prefer, and that made them wonderful to work with on a project like this, but it is difficult to get the full length of the needle into the camera frame when trying to take photos!

Knit Picks and KnitPro Needles, ready to be cast on to to knit a Palomar Tank.
The Palomar Tank pattern also calls for double-pointed needles for the armholes and neckline. I opted for a beautiful set of KnitPro Ginger Double-Pointed needles, as well as a set of Knit Picks Rainbow Cable Needles for the cable pattern on the front and back of the top.

Palomar Tank pattern, designed by Aubrey Busek—a perfect tank top for the summer heat!
Unfortunately, my tension disagreed with me. The 4mm needles gave me a gauge that was too big: I was getting closer to 4 stitches per inch, rather than the 5 stitches per inch the pattern calls for. And even with the 3.75mm needles, I was still getting a teeny bit less than the 20 sts per 4 inches the pattern asked for. I had 19 stitches over 4 inches. However, I didn’t want to go down to a set of 3.5mm needles, as I was afraid that would end up being too small. After much swatching (and some colorful language!), I ended up working the entire top on the 3.75mm needles instead.
This was not too big a deal, but it does mean the ribbing pulled in a little less than I would have liked, and the top was a teeny bit looser than the pattern called for.
That said, the most important part of the knitting for me was not what the ribbing did, but rather, what the cable pattern did and how it worked at that tension. And that’s the perfect segue into tomorrow’s post, which is all about exactly that: how to work the cables in the Palomar Tank! Join me!
This is part 1 of 5 in this series
Go to part 2: Cables 101 – working the cable pattern for the Palomar Top