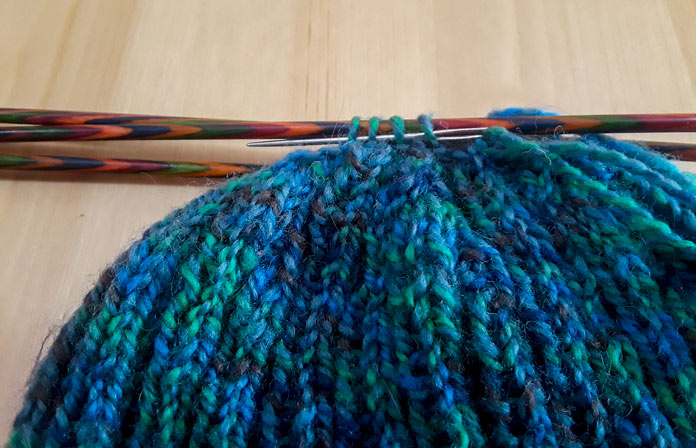
The Gallinule Hat crown is done after applying 5 critical tips for knitting hat crowns successfully from yesterday’s post. The hat is almost finished; it’s time to stitch up the top and sew in some ends!
Let’s talk about stitching the top of the hat.

Stitching up the top of the Gallinule Hat with a UNIQUE Knitting Round Tip Yarn Needle
The pattern instructions for the Gallinule Hat tell you to cut your yarn, thread a yarn needle (also known as a darning needle or tapestry needle) with the end, and pull it through your remaining live stitches. This finishing technique has a few names, but I know it as a star top.

The Crown of the Gallinule Hat, knit in Fibra Natura Cobblestone in Mallard
My tweak to these instructions is pulling the yarn through twice. I don’t drop the stitches off the knitting needles until the second time through. This just makes the top of the hat that much more secure. Since there’s a good bit of tension on that yarn, especially when you pull it tight, you have some protection if one strand were to snap.
Speaking of yarn snapping: you absolutely want to use a dull round-tipped needle, like the UNIQUE Knitting Round Tipped Yarn Needle. If you use a needle with a sharp tip to stitch up the crown or weave in your ends, you risk piercing the plies of the yarn and weakening it – your stitches become more likely to snap with wear.
Once you’re done that part of the sewing up, you want to weave in the end. Bring the yarn to the inside of the hat. I like to go right down the tiny hole at the center of the Star Top. Then, once the yarn is on the inside of the hat, thread it through one-half of each stitch. To do this, you’re looking for one-half of the little ‘v’ that forms the stitch. Pull the yarn through. This way, you’re keeping the yarn on the inside of the hat, and there’s absolutely no risk of a different color of yarn peeking through to the outside of the hat. This is a risk with any variegated yarn, or if you’re doing colowork – when you’re weaving in your ends, you do want to be careful about making sure the color you’re weaving in doesn’t accidentally peek through, and this is my favorite technique to help with that.

Sewing in ends on the Gallinule Hat’s crown with a UNIQUE Knitting Round Tip Yarn Needle.
Once you’re done there, do the same thing with the tail from your cast on (except, of course, you don’t have to pull it through the crown of the hat!)
Then, turn the hat right side out, and admire your finished work!

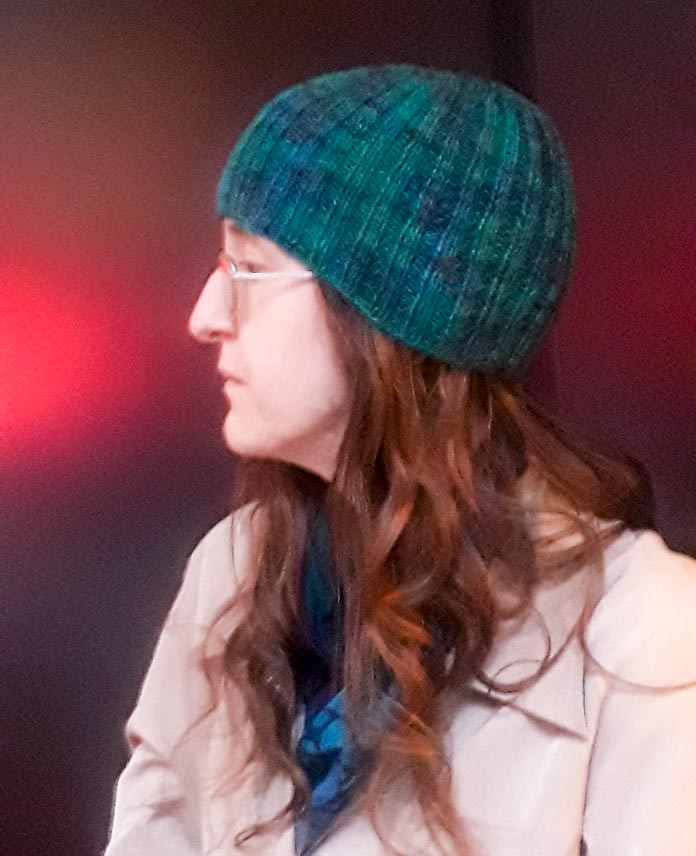
The finished Gallinule Hat, knit in Fibra Natura Cobblestone, with Knit Picks Wooden Needles
Now that I’m finished, some final thoughts.
It’s gorgeous! I love the Mallard colorway of the Fibra Natura Cobblestone, and I’m very happy with how it all turned out. I think the one thing I would do is add a few more inches to the original hat pattern – after trying it on, I’d prefer it just a touch deeper so I can flip it back up over my ears. But extending the hat is a project for Future Me; for now, I’m off to admire my finished knitting!

The finished Gallinule Hat, knit in Fibra Natura Cobblestone
