In my last post I knitted a rustic chunky hat holding together two strands of the artful, chunky yarn UNIVERSAL YARN Bamboo Bloom Handpaint. Today, I’ll try to knit the trendy accessory of this winter.

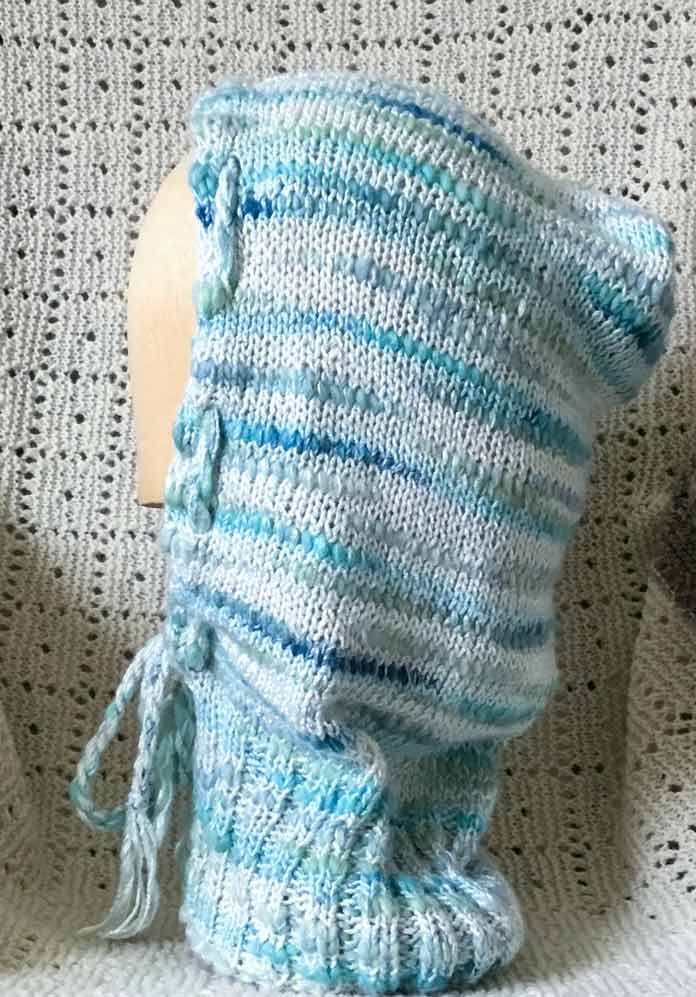
Finished hood is worked in ribbing and stockinette stitch.
Every winter there is one accessory that takes over. During the last years we saw the slouchy hat, the toque, the balaclava.
This winter the head scarf is becoming more popular but the ultimate must-have is the hood, the one that we can see as a pattern in Ravelry, or as a finished product on Etsy or in the stores.
So here’s a simple version of the hood, worked in the thick and thin chunky yarn UNIVERSAL YARN Bamboo Bloom Handpaint.
Pattern
One Size
materials
yarn
- 2 skeins of UNIVERSAL YARN Bamboo Bloom Handpaint
needles
notions
- stitch markers
- tapestry needle
- spare circular needle to pick up the live stitches after removing the provisional cast on
gauge 18 stitches and 26 rows over 4” [10cm] in stockinette stitch
Notes:
- The hood is knitted bottom up, starting in the round and switching to knitting back and forth after completing the neck.
- It uses the 2/2 rib knitted in the round and stockinette stitch knitted flat.
- It’s finished with a three-needle bind-off.
abbreviations
k n knit n stitches
p n purl n stitches
pm place marker
slm slip marker
k2tog knit 2 stitches together
sl1wyif slip one stitch (purlwise) with the working yarn hold in front of the stitch
yo yarn over
WS wrong side of the work
RS right side of the work
The Hood Pattern
Simple version
Cast on 84 stitches using a long tail cast on. Join for knitting in the round and place a marker to mark the beginning of the round.
Rnd 1 (and all the rounds until the neck is 7” [18cm]: K1, *p2, k2**, repeat from * to ** up to the last stitch, k1.
Continue in this manner until the neck measures 7” [18cm].
Next round (set up round for knitting flat): K1, sl1wyif, knit up to the last 2 stitches, k1, sl1wyif.
Turn work. From this point on the hood is worked back and forth in stockinette stitch, with I-cord edges.
Next row (WS): K1, sl1wyif, purl up to the last 2 stitches, k1, sl1wyif.
R1 (RS) eyelet row: K1, sl1wyif, k2tog, yo, knit to last 4 stitches, yo, k2 tog, k1, sl1wyif.
R2 (WS): K1, sl1wyif, purl up to the last 2 stitches, k1, sl1wyif.
R3 (RS): K1, sl1wyif, knit to last 2 stitches, k1, sl1wyif.
R4 (WS): K1, sl1wyif, purl up to the last 2 stitches, k1, sl1wyif.
R5 (RS): K1, sl1wyif, knit to last 2 stitches, k1, sl1wyif.
R6 (WS): K1, sl1wyif, purl up to the last 2 stitches, k1, sl1wyif.
R7 (RS): K1, sl1wyif, knit to last 2 stitches, k1, sl1wyif.
R8 (WS): K1, sl1wyif, purl up to the last 2 stitches, k1, sl1wyif.
R9 (RS): K1, sl1wyif, knit to last 2 stitches, k1, sl1wyif.
R10 (WS): K1, sl1wyif, purl up to the last 2 stitches, k1, sl1wyif.
R11 (RS): K1, sl1wyif, knit to last 2 stitches, k1, sl1wyif.
R12 (WS): K1, sl1wyif, purl up to the last 2 stitches, k1, sl1wyif.
Repeat rows 1-12 5 more times. (6 eyelets on each side of the hood).
Repeat rows 1-6 once more. (7 eyelets on each side of the hood)
Transfer half of the stitches on a spare circular needle preparing them for the bind off. You’ll bind off half of the stitches with the other half.
On the wrong side of the work and using the three-needle bind-off method, bind off all stitches. Break the yarn leaving a tail to sew the tip if required.
Optional: Make a twisted cord or I cord and thread it through the eyelets of the hood.
If you do not like the pixie point of the hood, fold the point at about 1½” from the edge and sew it in place.
Weave in all ends. Steam or wash and block the hood.
This is another quick and thoughtful winter gift project that’s perfect for the season!
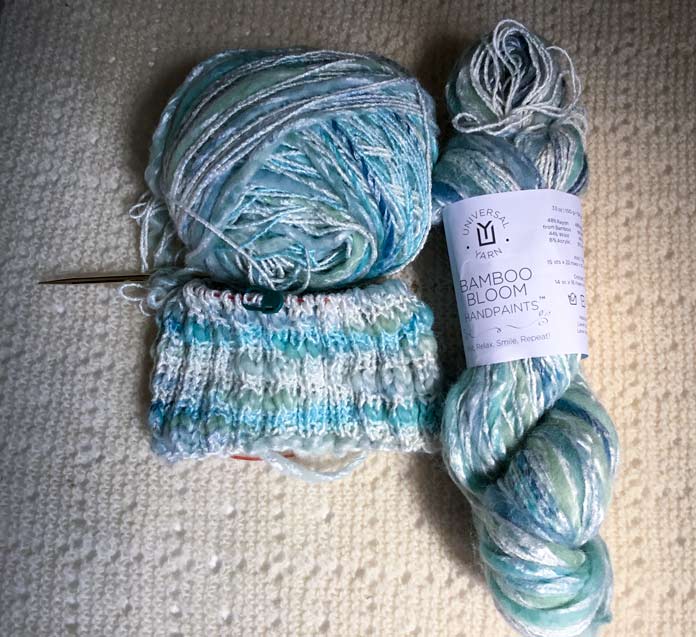
I started the neck in a 2 x 2 rib worked in the round, this is a new stitch pattern for the yarn:

The ribbed neck portion of the trendy hood
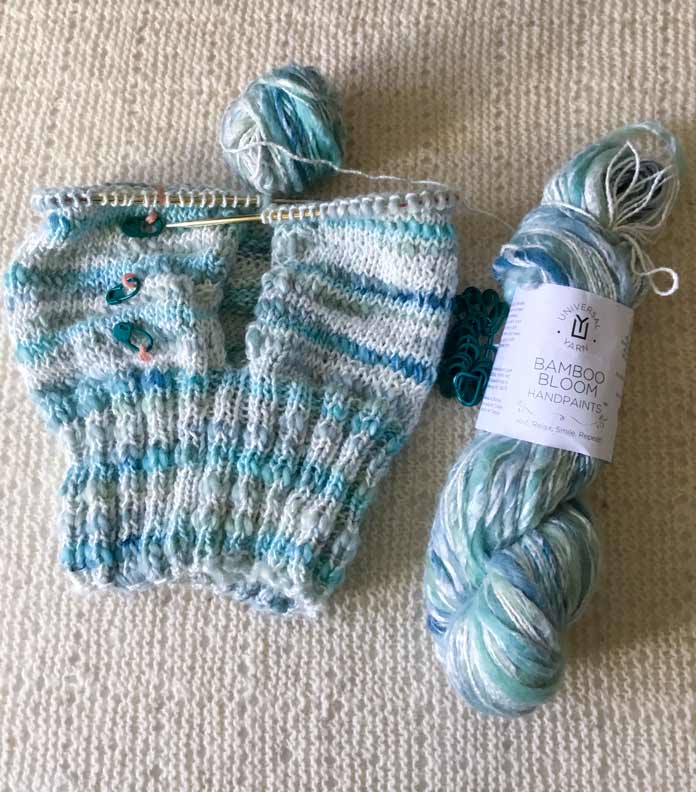
The work on the neck is finished at 7” high, and it’s time to split and start working back and forth and keep track of the number of rows as I need to work an eyelet row every 12 rows.

The trendy hood …knitting in progress
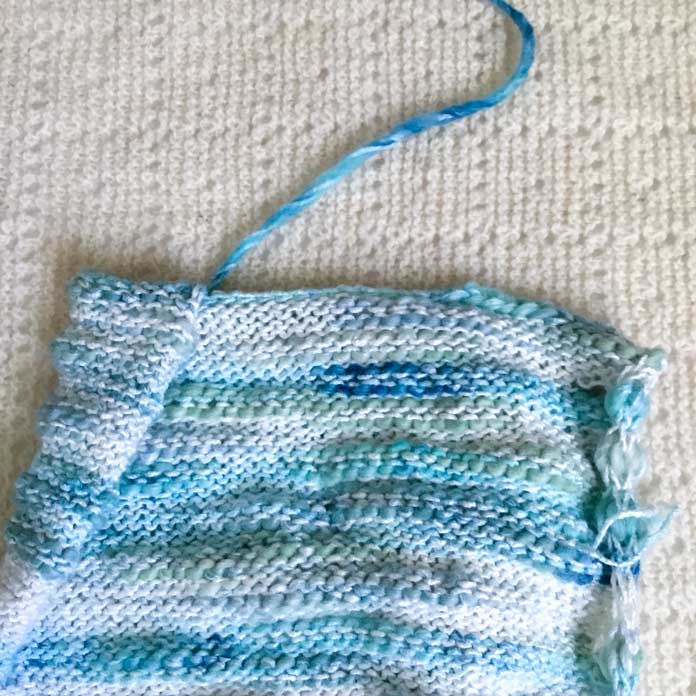
Work is going fast, and the fabric keeps the artisanal look that I was expecting. Once the hood is complete it’s time to bind-off.

Bind-off of the hood on the wrong side
As I don’t like the pointed finish, I will fold the point on the wrong side and sew it along the bind-off row. It will create a pleat instead of a point at the back of the hood.

The Trendy Hood with the point folded for a smoother finish
After finishing the work on the hood, I make a twisted cord using 4 strands of UNIVERSAL YARN Bamboo Bloom Handpaint and thread it to the eyelets.
The hood looks good, one of a kind, the accessory for this winter that will also showcase the
beauty of the thick and thin, matte and shiny yarn I used.
![The hood, finished, modelled on a mannequin. The three pictures show the front, back and side of the hood; UNIVERSAL YARN Bamboo Bloom and US 7 [4.5mm] KNITTERS PRIDE DREAMZ circular needles 32” or longer.](https://knitmuch.com/wp-content/uploads/image006-mg-28.jpg)
The Trendy Hood, finished, front, back, and side view
Here’s a list of the stitches I used while making 5 small and quick projects using UNIVERSAL YARN Bamboo Bloom Handpaint in colorway Nami:
- stockinette stitch
- reversed stockinette
- garter stitch
- 1 x 1 twisted ribbing
- 1 x 1 ribbing with 2 strands held together
- 2 x 2 ribbing
My favorites are the garter stitch and the 1 x 1 rib knit with two strands. Which one is yours?
Feel free to experiment with this Bamboo Bloom Handpaint and knit one (or more) of these simple projects for the coming Holiday Season.
