
In this series of posts, I’m making samples and talking about some basic stitch patterns using Hue + Me yarn by Lion Brand. In my last post, I described how to work some basic stitch patterns – seed and moss stitch – both in the round and in back-and-forth knitting.
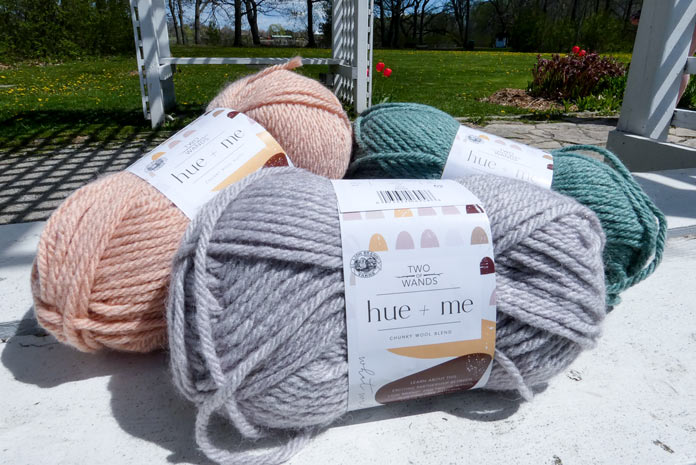
Knitters can relax with Hue + Me, as all colors complement one another. Here, (l-r) rosewater goes with haze, goes with agave.
In this post, I show you how to make neat edges on the sides of your scarf, or any project where you want a tidy edge: a blanket, button bands, or tunic vent. There are times when you might want the seams inside a garment to be neatly done, perhaps to make a jacket reversible.
This is not a difficult technique. The challenge is simply remembering to do it consistently.
Selvages (selvedges, if you are British), are defined as the margin on the sides of woven cloth, where the weft (weaving) threads weave in tightly on the sides of the loom. In knitting, the knitter creates these edges as they make the fabric, usually by working them consistently on the first and last one (or two) stitches on each side of the work.
Selvages have several useful purposes, and are often overlooked. Sometimes, they dress up an edge to give it an attractive appearance.
A two-stitch selvage makes a decorative but functional design element to a garment, often adding structure at the edges of a garment. For example, a garter stitch selvage is shorter than the adjacent stockinette stitch fabric. This adds sturdiness to a side seam or sleeve seam – particularly useful when working with cotton or rayon yarns.
There is an entire chapter (4) dedicated to selvages in the book, The Principles of Knitting, truly a knitter’s text book. If you’re not as avid a knitter as I am, you can look up this massive resource at your local library. I heartily recommend having a look at this chapter!
Below are the instructions I used for a tidy, chain edge on the sides of the scarf that is the project for this series of posts. Generally speaking, if you plan to use selvages on your garment, add the stitches for them onto the number of stitches for your garment. For example, if your pattern has 110 stitches for the body panel and you want a 2-stitch selvage on each side, make sure there are 114 stitches on the panel.
I used to know a knitter who worked her selvage at the end of the row, but I find it easier to remember them at the beginning of each row.

A selvage creates a neat chain of stitches on the exposed edge of this scarf, but it can do the same for button bands, or a blanket.
To make the selvage in the photo, slip the first stitch of every row as if to purl it, keeping the yarn at the front of the work, then move the yarn wherever you need to work the next stitch.
Caveat: This works really well on the seed stitch borders, but when worked on stockinette stitch, one side may be looser than the other. This is another reason I advocate knitting samples.
For the scarf project, I have intentionally worked the collar increases at the edges of the scarf. They look like this:

Even though the increases are right at the edge, the scarf still has an attractive edge.
If I weren’t doing a seed stitch border, I could move the increases a stitch or two away from the edge and maintain the smooth chain in the previous photo.
In my next post, we’ll get knitting on our Hue + Me pocket scarf.
2 comments
I just ordered the book “the principles of knitting” thank you for your clear explanation for a neat selvedge edge. I have a question for the best cast on for knitting squares, the pattern is intricate and very Aran. The squares will be sewn together and the pattern is vague. It doesn’t call for 1 or 2 base rows and I’m frustrated with it curling. Any help or advice will be greatly appreciated. Thank you, Geraldine Callaghan
Most patterns leave cast ons to the knitter’s preference. The curling will resolve itself once the squares are blocked and/ or sewn together. In the case of a knitted blanket, you want a fairly sturdy cast on and cast off, because those seams are going to be the “skeleton” for the piece. If your cast on is too loose, the squares could be stretched out over time, with the tugging on the blanket.
My suggestion would be to try a square or two with different cast ons, and use them to help you decide which cast on is going to work best. Also, note which cast on you decide right on your pattern. That way, if you put the project down and pick it up several months later, you won’t have to guess what you were doing!