
This week I’m warding off the winter chill by knitting with Universal Yarn Deluxe Worsted Superwash. This beautiful, springy, 100% superwash wool with a rich and expanding palette of colours is a great choice for warm and cozy garments, accessories and home décor.
Yesterday, I added the collar and front edges to the Roof Tiles Sweater and knit 2 extra edge pieces that I’ll use today when sewing in the zipper.
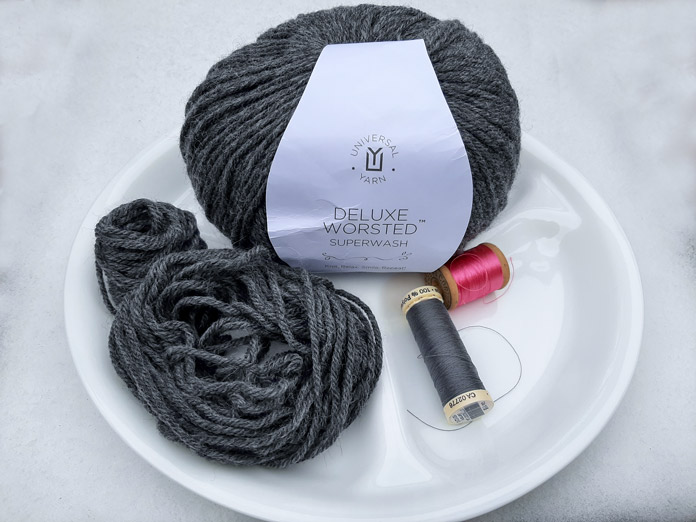
Deluxe Worsted Superwash in Charcoal Heather
Sewing a zipper into knitwear isn’t the easiest thing to do. The first time I did it, I followed the pattern instructions to the letter, but I wasn’t happy with the finished result. It looked OK on the outside, but the inside was ugly. If the zipper was open at all, the ugliness was exposed. I kept trying to make it neater every time I put one in, but I was never satisfied until I made a baby sweater that called for knitting an interface for the inside of the zipper. Voila! It was perfect. The zipper was completely encased within the front edge and back interface and looked good on both the inside and outside. I have been making an interface for my zippers in knitwear ever since.
There are several steps to this method, but believe me, it’s worth it. To begin, I’m using a 22” [55cm] separating zipper.
Step 1 Pin the zipper in place.
With the zipper closed, pin it in place to both front edges.
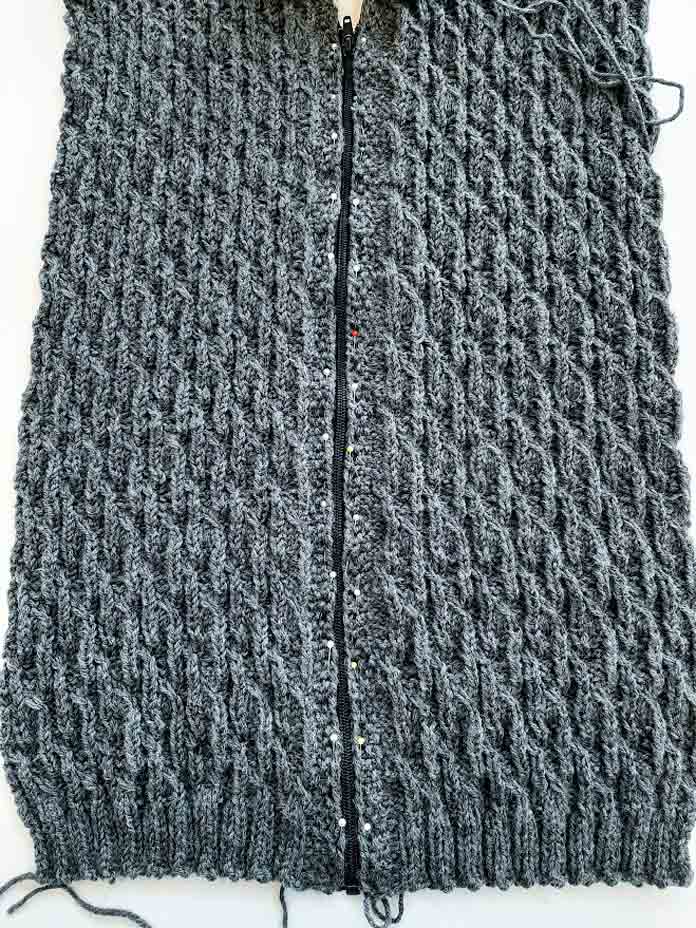
Step 1 – pin the zipper in place to both front edges.
Step 2 Baste the zipper in place with a contrasting color of thread.
Loosely baste the zipper in place on both edges with a contrasting color of thread. Once complete, remove the pins from Step 1. This allows you to align the zipper with the knitted edge and eliminates the buckling caused by the pins. Once complete, you can unzip the zipper to work on each side.
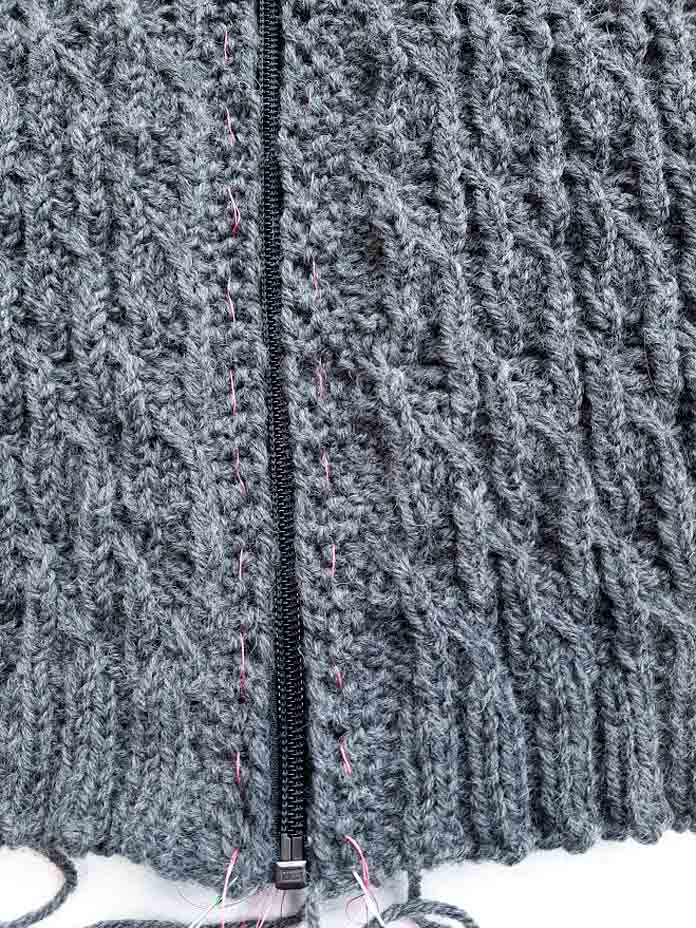
Step 2 – loosely baste the zipper in place with contrasting colored thread.
Step 3 Sew the zipper in place with a matching color of thread.
You must match the color of the thread with the color of your yarn as closely as possible as the sewing thread will be visible on both sides. Since you don’t want to see the thread on your knitwear, the closer you match the color, the less visible it will be. I sew each side in twice; once near the zipper teeth and once near the outside of the zipper tape. Then you can remove the basting thread.
Step 3 – sew a zipper with matching colored thread.
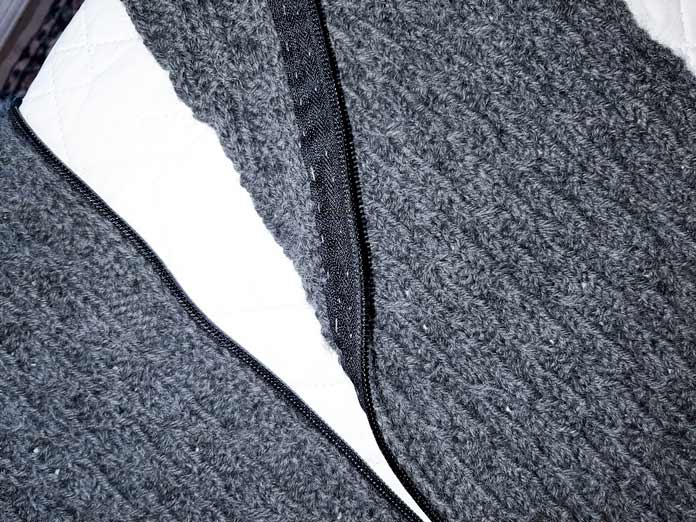
Step 4 Attach the knitted interfacing to each side.
Using the sweater yarn, attach the interfacing to the ridge formed from picking up the stitches for the front. The interfacing piece is 1 row less than the front. By loosely attaching it, you avoid adding bulk to the ridge. Once attached, you will have a pocket encasing the zipper tape.
Step 5 Sew interface zipper and front edge with matching color of thread.
With the matching-colored sewing thread, sew all three pieces together near the zipper teeth edge. The zipper is secure, completely encased and looks good on both the inside and outside of the sweater.
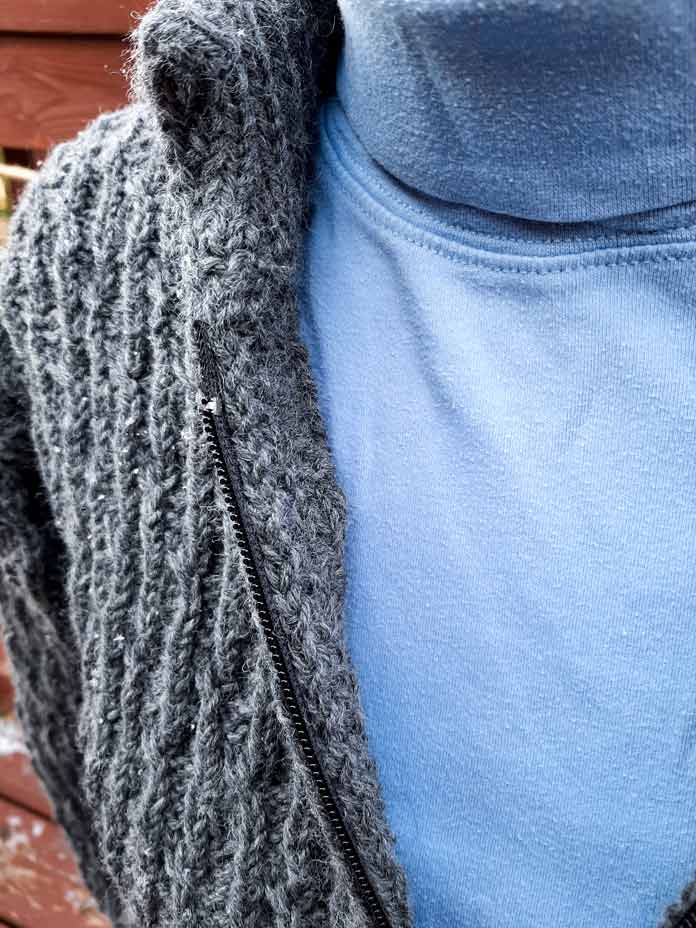
Step 5: Sew interface, zipper and front edge with matching color of thread.
Yes, it’s a lot of work, but I wouldn’t have it any other way. Not only does it look good, it’s secure and won’t distort the knitted sweater.
Now that the zipper is in place, I turned the collar to the inside of the sweater and sewed it down. Then I proceeded to seam together the sleeves and sides of the sweater. I prefer to attach the sleeves to the sweater first, then seam the sleeves and side seams using mattress stitch. The YO increase method I used on the sleeves made it much easier to seam than the traditional M1 method. My side seams are completely invisible and the pattern motif is continuous. One might think it was knit in the round.
I did add the pockets but I’m not sure that I’ll keep them. I loosely attached the pocket lining but left the ends exposed. That will make it easier to take them out if I decide to do so.
The Roof Tiles Sweater is complete and I must say that I prefer my collar.
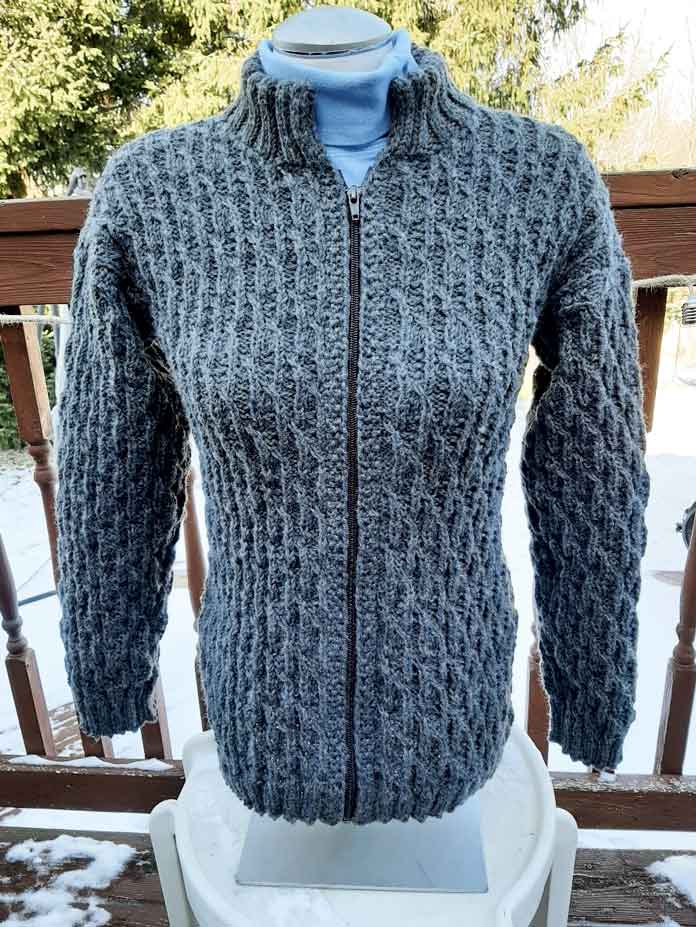
Finished Roof Tiles sweater knit with Deluxe Worsted Superwash in Charcoal Heather.
I’m pleased with the finished product. I love the textured pattern and the body of the sweater. Not only did I resurrect a lovely pattern from the archives at Universal Yarn, but using Universal Yarn Deluxe Worsted Superwash turned out to be an excellent substitution for the discontinued yarn. I have enough yarn left over to make a matching hat.
I hope you enjoyed this week and remember, you can access the free Roof Tiles Sweater pattern through Ravelry. I’ll post my sweater out there in hopes that it will inspire others to make it. I have enough leftover yarn to make a matching hat which I’ll also post on Ravelry once complete.
Happy knitting!
2 comments
Part 4 addresses knitting the front edges and interfaces in seed stitch.
Your finished garment is very pretty. The tutorial overall is helpful but step 5 doesn’t specifically show anywhere what specifically these two extra edge pieces look like that are used to encase the zipper tape. The finished product looks great but not sure I’d be able to recreate it without more details on the modifications. I went back through all the earlier steps but didn’t see details other than yarn substituting and adding the collar.