
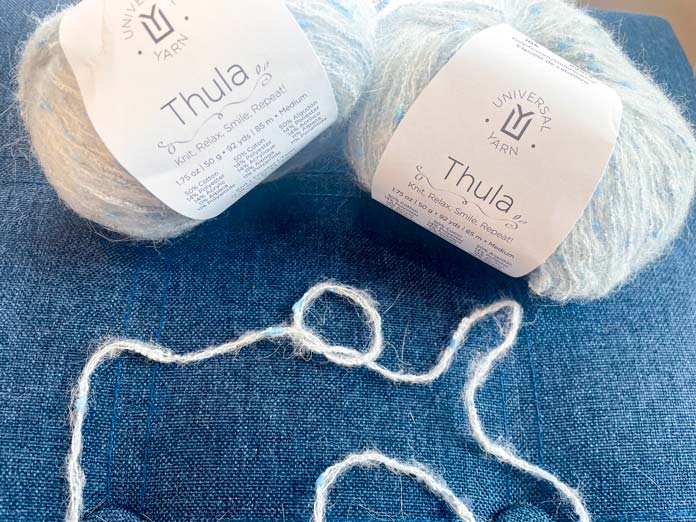
This week, I’m making a pillow cover with UNIVERSAL YARN Thula in Delphinium. One side will be worked in honeycomb stitch from the center out, and the other in vertical cables. Yesterday, I made a swatch and planned the number of stitches and rows needed for my 18-inch pillow insert. Based on my swatch, I calculated that each edge needs about 116 stitches. Today, I’m casting on and will work from the center in four quadrants in the round to the outer edges.
To cast on, I’ll tie a slip knot like so.
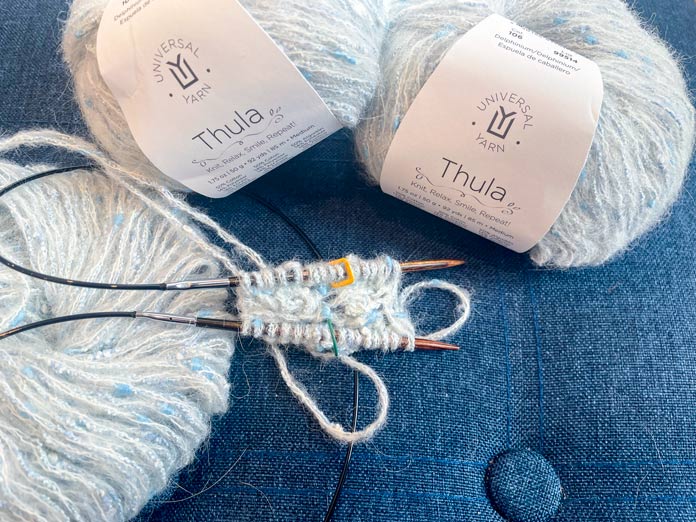
To begin, I tie a loose slip knot with UNIVERSAL YARN Thula.
Then I’ll knit one stitch into this knot, followed by a yarn over. I’ll repeat k1, yo until I have 8 stitches like so.
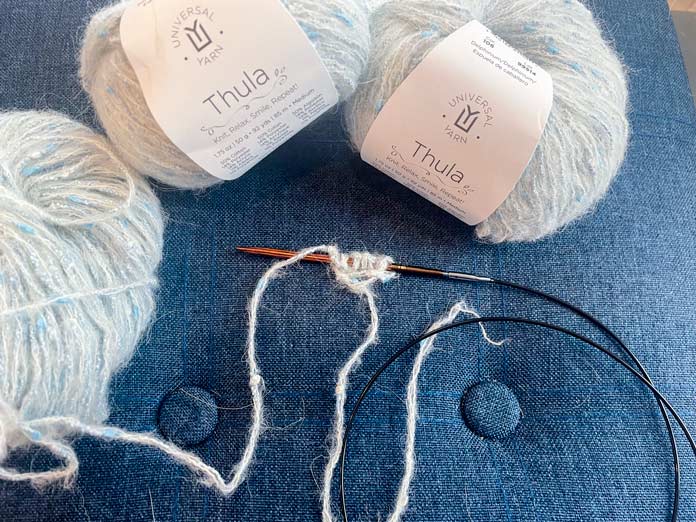
Here’s what the first cast-on row will look like in UNIVERSAL YARN Thula on the needles from my KnitPro Ginger Special Deluxe Interchangeable Needle Kit.
I’m using interchangeable cable needles from my KnitPro Ginger Special Deluxe Interchangeable Needle Kit, so I’ll pull the cable through between the fourth and fifth stitches to divide them evenly and fold the cable. Alternatively, if you prefer double-pointed needles, place the first four stitches on a second needle. Now I’m ready to work the next row in the round.
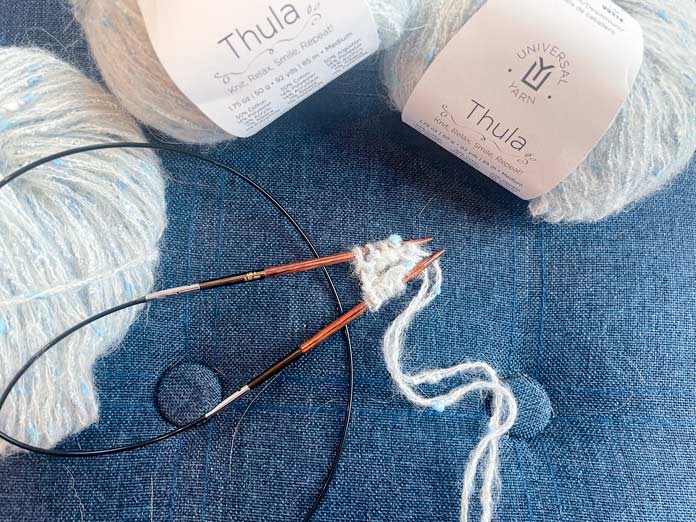
Here’s what the first cast-on row will look like in UNIVERSAL YARN Thula once the stitches are separated to work in the round.
Once the stitches are divided, I’ll knit one round. At this point, I’ll check to see if the center hole will close by gently pulling on the cast-on tail. Thula has nubs, so they may snag a bit, but the center should close.
Next, I’ll repeat k1, yo to make 16 stitches total. Then I’ll knit one round. Now I’ll divide the stitches into four sections of four stitches each, using markers as shown.
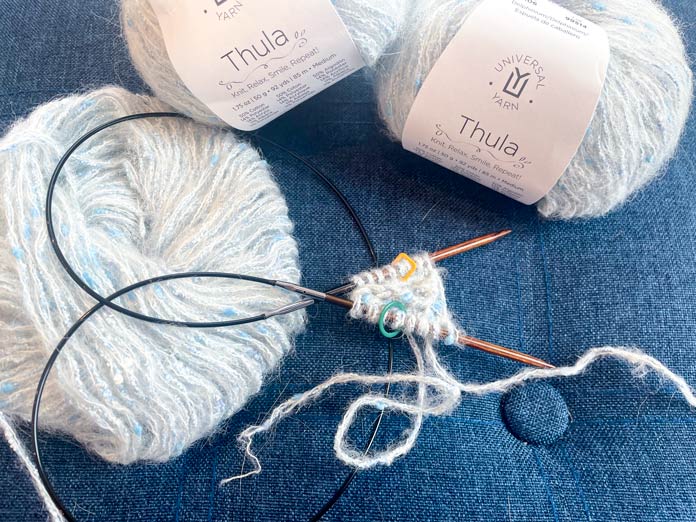
Starting my pillow cover with UNIVERSAL YARN Thula. At this point, there should be 4 sections of 4 stitches.
From this point on, I’ve decided to use m1 instead of yarn overs, as I would prefer not to have gaps. Each section will grow by two stitches, one stitch in from each end of the section. I’ll work the next round as k1, m1, k2, m1, k1 to make 6 stitches in each section, and then I’ll work the following round as k1, m1, k4, m1, k1 to make 8 stitches in each section. This is what I’ve got so far.
After working two more rounds, adding two stitches per section each round, there should be 4 sections of 8 stitches.
Now I have enough stitches to start adding the cable stitches in the modified honeycomb pattern I have planned. I’ll set up the pattern over the next four rows as follows:
Set-up row 1: K1, m1, k1, C4F, k1, m1, k1.
Set up rows 2, 3, 4: K1, m1, k to last stitch, m1, k1.
I should have 16 stitches after this last row. Remember to add two stitches to every row so the piece lies flat, and there is no peaking in the center. Now I’m ready to start working the modified honeycomb pattern, four row repeats in each section, as follows:
Row 1: K1, m1, k3, (C4B, C4F)*, k3, m1, k1.
Rows 2, 3, 4: K1, m1, k to last stitch, m1, k1.
*The first time I work this row, there will only be one C4B, C4F worked. However, each time I work this row, an extra repeat should be worked as 8 stitches will be added over four rows. Therefore, I’ll repeat the cable stitches twice when I work it the second time, three repeats when I work it the third time and so on.
I’ll continue working on the four rows above until I have 18 inches. My pillow cover in UNIVERSAL YARN Thula is off to a great start, and my KnitPro Ginger Special Deluxe Interchangeable Needle Kit makes it very easy to work in the round! Join me tomorrow to see the finished first side and learn what I have planned for the back side!
This is part 2 of 5 in this series
Go back to part 1: Cable Throw Pillow Cover in UNIVERSAL YARN Thula, Honeycomb Stitch
Go to part 3: Finishing the Honeycomb Side of a Thula Pillow Cover, Center Out