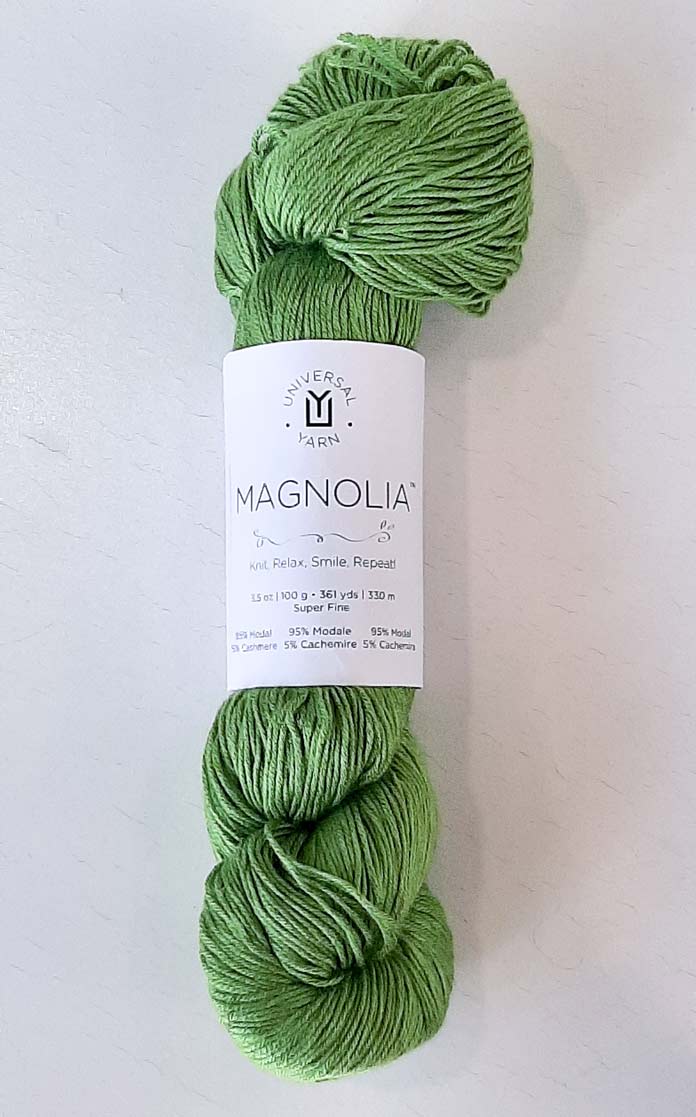
This week I’m knitting with Universal Yarn Magnolia, which is a super fine weight yarn that blends modal with cashmere to create soft knitted garments perfect for spring and summer.
After making my swatches yesterday, I now know what needle size I need for my project and what pattern motifs I want to use. As I mentioned on Day 1, when I first planned my projects, there weren’t any patterns designed for this yarn yet. By the time I got my yarn, the Cherries on Top pattern was available, so I decided to make it using one of my favorite summer colors, Key Lime.

Universal Yarn Magnolia in Key Lime is my color choice for the Cherries on Top T-shirt.
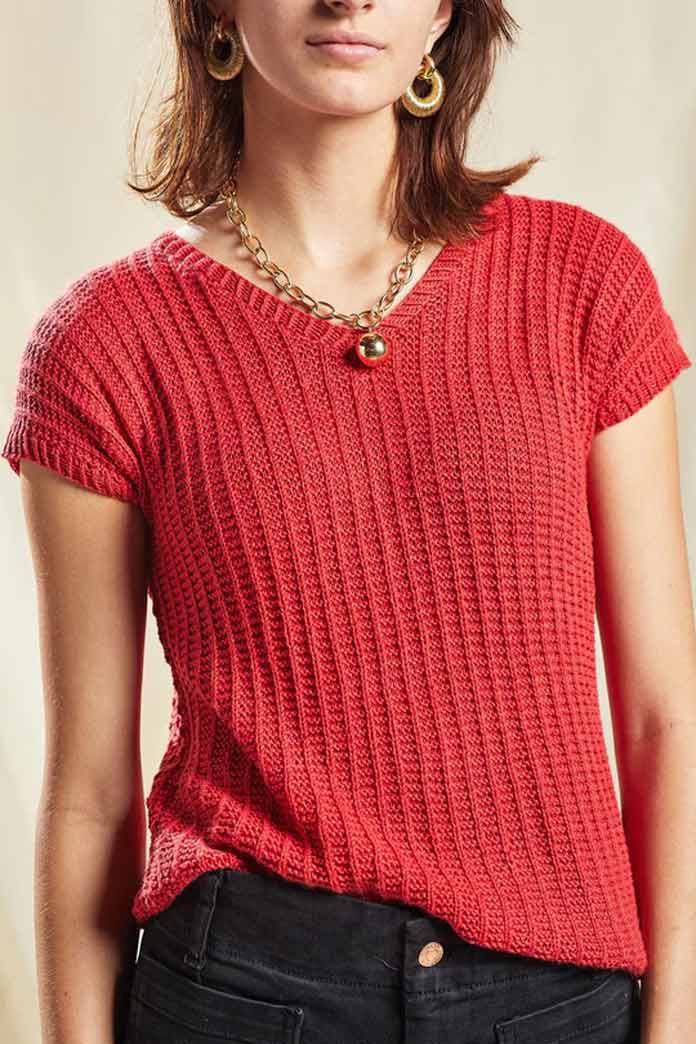
Download the pattern for The Cherries on Top T-shirt, it’s a free knitting pattern designed for Magnolia yarn, it knits flat in two pieces, and is seamed at the shoulders and underarms. Stitches are then picked up and knit for the neckline. The front features the Broken Garter stitch pattern and the back is knit in an open Garter Lace pattern. This is a lovely T-shirt just the way it is, however, I decided to make a few changes including knitting it in the round instead of flat.

Cherries on Top pattern by Universal Yarn for Magnolia yarn
I did start to swatch the Garter Lace pattern but decided it was too open for my liking on a top. I think it would look really good on a shawl, but didn’t want to wear it on my back. So, I opted to do a combination of the Broken Garter and Garter Rib patterns from my swatching exercise.
For the balance of this post, I’ll describe the changes I made for knitting in the round and over the top. What does that mean, you ask? The only seams in my finished project are the underarms. Everything else it knitted in one piece, therefore no shoulder seams.
Let’s get started.
Using a US 2 [2.75mm] needle, I cast on 264 sts for the medium which is 2 stitches less than the front and back stitches combined. Since I don’t have any side seams, I don’t need a seam allowance and that works out for the pattern repeat.
The next change was the Half-Twisted Rib section at the bottom edge. If worked flat, the twist is always a Ktbl (knit through back loop) on a rib stitch, i.e., a purl stitch on the Right Side (RS) becomes a knit stitch on the Wrong Side (WS), therefore, the Ktbl occurs on every knit stitch. Because I’m working in the round, that requires a Ptbl (purl through back loop) to twist that same stitch since I’m always knitting on the RS. This is a little trickier to do and there are a lot of stitches requiring that technique. So, I opted to just do a Ktbl on only one of the knit stitches as follows.
Round 1: K1tbl, P1.
Round 2: K1tbl, K1.
Once the ribbing section was complete, I switched to a US 3 [3.25mm] needle and proceeded with the Broken Garter stitch pattern, but it changes a bit when working in the round.
Round 1: K1, P3.
Round 2: Knit.
I continued until my work measured 14” ending with Round 2.
I then turned my work and knit in reverse (on the wrong side – WS), for 1 round, placing a marker at the half way point to denote side marker.
Now I was ready to separate the front and back by having a second set of needles available. If you don’t have a second set of the same needle size, use the next smaller size so you can leave the back stitches on the spare set while you proceed with the front.
Turn your work to knit in the proper direction (right side facing) and proceed with sleeve increases for the front until you reach the side marker. That’s when you want to transfer the back stitches to a spare needle or use another set of the same size to continue working on the front.
Front
Cast on 1 stitch, knit to side marker and leave remaining stitches on a spare needle.
Turn work.
Cast on 1 stitch and knit to end of row.
Cast on 2 stitches at the beginning of the next 6 rows while working the bodice pattern.
Bodice pattern in Garter Rib
Row 1: Cast on 2 sts, knit to end of row
Row 2: Cast on 2 sts, P1, K1 to end of row
Follow the pattern instructions using the Garter Rib stitch until dividing for the V-neck. The instructions state to cast off the middle stitch for the V-neck, but since I’m working with 1 less stitch on the front, I didn’t do that.
I followed the pattern instructions until it stated to cast off for the shoulder seams. I didn’t do that either. Instead, I inserted a removable locking stitch marker to denote where the shoulder seam should be and worked both sides of the V-neck until the front was complete. Now it’s time for Over the Top.

Continuation of the Garter Rib pattern over the shoulder and down the back
Over the Top
This is where I continued knitting down the back by working across the shoulder stitches, then casting on the number of stitches (less 1) as instructed by the pattern to cast off for the back neck edge. In my case, the instructions called for 55 sts, so I cast on 54 – remember that I’m working with 1 stitch less on each of the front and back.
I continued in the Garter Rib pattern to the same point as the last row of the front sleeve increases. I counted the number of rows to make sure I was at the same place. You can measure, but I don’t rely on that completely as I want to know the exact number of rows. Instead of increasing, I decreased based on the same formula; that is, 2 sts decreased at the beginning of the next 6 rows. On the last 1 stitch decrease row, the wrong side of the work should be facing you, so work it as a knit row. If it’s a right-side row, then work it as a purl row (it depends on your row count). Then, with the wrong side facing you, use a 3 needle bind off to join the Over the Top stitches to the back stitches that you placed on hold.
The main body of the T-shirt is all together in one piece. Just follow the instructions for picking up the sleeve cuffs and neckline to complete the project. Oh wait, just one more little change. I cast off the stitches for the sleeves and neckline using a 2 stitch I-cord cast off. It makes a lovely squared edge and has become my favorite for applications such as this.
When ready to start your cast off, cast on 2 more stitches and knit 2, then transfer them back to the left needle. K1, K2togtbl (Knit 2 together through back loop) until you’re left with 2 stitches on your right needle, then cast off. It makes a beautiful cast-off edge. Weave in the ends and you’re done!

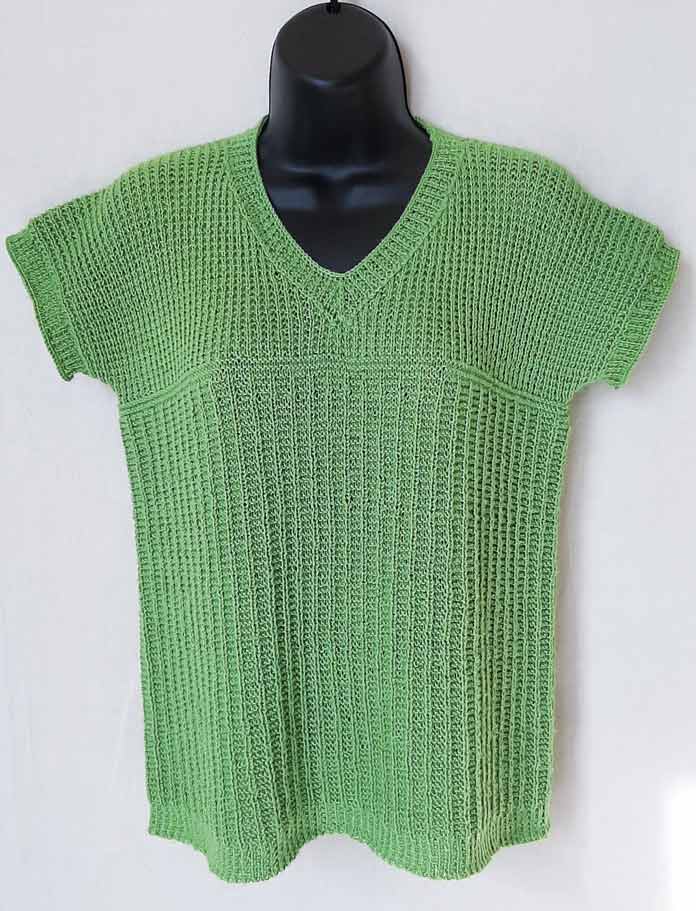
The Cherries on Top T-shirt is complete using Universal Yarn Magnolia in Key Lime.
The Cherries on Top T-shirt is now complete. I really like the two different patterns together and all I had to seam were the underarms. The drape of the finished garment is beautiful and so soft and satiny to the touch. I can really see why modal is often used for undergarments and the wicking qualities of the fiber make it a great choice for a summer top.
I’m very pleased with how this turned out and looking forward to tomorrow when I show you my next project. I hope you’ll join me to see how I use two colors of Universal Yarn Magnolia together to make a stunning cardigan.

2 comments
How many balls of yarn should I purchase for each sweater? Can I do the first one in two pieces like the second one@?
There is a link in the post to download the free Cherries on Top pattern and a link provided to Ravelry to download the Paulie pattern. In it you will find the yarn requirements (by yardage) and measurements for each of the sizes. The Cherries on Top Tee is designed to be knit flat (2 pieces) however, I opted to knit it in the round. The Paulie cardigan is a top down pattern designed to be knit in one piece.