
This week I’m knitting with Lion Brand Two of Wands Color Theory. This medium-weight acrylic yarn offers an array of colors that work together harmoniously and make for easy-care garments and accessories for the whole family.
Today, I’m knitting swatches to measure my gauge to determine the needle size I’ll use on my projects for the balance of the week. I used to think of swatch day as “ah, do I have to” day, but not anymore. Now I think of it as “all right, I get to play with yarn and needles!” day; especially this week where gauge doesn’t play a significant role in my projects.
As I mentioned yesterday, the recommended knitting needle size is a US 7 [4.5mm] = 20 sts x 27 rows = 4” [10cm] in stocking stitch. I’ll begin there, but I intend to double-strand the yarn for a couple of my projects, so I’ll also determine my needle size based on the density of the fabric I want to achieve.
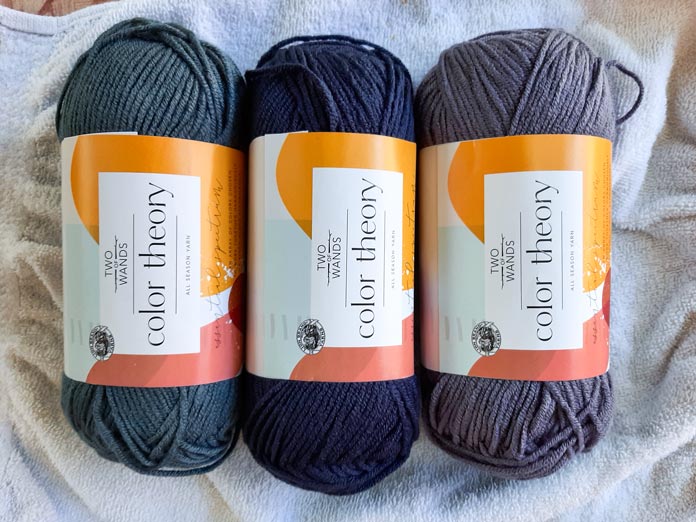
Lion Brand Color Theory in Amethyst, Admiral and Stonewash are my color choices for this week.
My first swatch is mainly to check the recommended gauge and needle size so I’ll begin by using a US 7 [4.5mm] needle and casting on 27 stitches. My standard 4” swatch consists of 4 garter stitch rows, a slipped stitch edge followed by 2 garter stitches on each side, and stocking stitch for the main field. I like to incorporate the needle size I’m using into the swatch by purling the number of stitches that correspond with my needle size, however, I forgot to do that on this one.
As it turns out, my swatch gauge measured out as 18½ sts x 25 rows = 4”. I’m usually a ‘right on the money’ gauge knitter, but yesterday I mentioned that I thought this was a ‘plump’ worsted meaning it could likely knit to a bit looser gauge and still create a good fabric. Well, I was right. I’m quite happy with the fabric, but I’ll knit another swatch using a smaller needle to see if I can match the recommended gauge.
![A knitting ruler shows a Color Theory swatch in Stonewash produced a gauge of 18½ sts x 25 rows using a US 7 [4.5mm] needle.](https://knitmuch.com/wp-content/uploads/image002-mg-70.jpg)
A Color Theory swatch using US 7 [4.5mm] needle yielded 18½ sts x 25 rows.
For my second swatch, I cast on the same number of stitches and used a US 6 [4.0mm] needle. This time I remembered to incorporate the needle size by purling 4 sts as I think in metric for needles. My swatch measured 20 sts x 27 rows, right on the recommended gauge. It doesn’t matter what needle size you need to use to achieve gauge. What matters is that you can achieve gauge if it’s critical to the success of your project, like a sweater. If gauge isn’t critical, then you can select your needle size based on the fabric created.
![A metal knitting ruler shows a Color Theory swatch in Stonewash produced a gauge of 20 sts x 27 rows using a US 6 [4.0mm] needle.](https://knitmuch.com/wp-content/uploads/image003-mg-59.jpg)
A Color Theory swatch using US 6 [4.0mm] needle yielded 20 sts x 27 rows.
I was pleased with both fabric swatches. Since gauge is not critical for my projects this week, I could use either needle size, but I’ll decide that after my next swatch, the pattern swatch. This time, I want to see how Color Theory reacts to a couple of different stitch patterns. In particular, I want to use a reversible pattern stitch where both sides of the fabric look the same.
![A Color Theory pattern swatch in Stonewash and Amethyst created a soft and squishy fabric with a US 6 [4.0mm] needle.](https://knitmuch.com/wp-content/uploads/image004-mg-37.jpg)
Color Theory pattern swatch using US 6 [4.0mm] needle
The first pattern is a 2 x 2 rib incorporating a mock or faux cable on both sides. The fabric is soft and cushy, but I think a larger pattern would be better for the plumpness of the yarn.
The second pattern is a 3 x 3 checkerboard, alternating knit and purl blocks. I like it, but still think the blocks should be a bit larger.
The third pattern is a 2-color mosaic. In this case, all stitches are either knit or slipped. This time, I think the plumpness of the yarn is perfect for this stitch. Even though I used Stonewash and Amethyst together, which is not a high contrast, the colors still come through. I like this pattern stitch.
For my fourth swatch, I wanted to knit with 2 strands. I keep using the words ‘plump’, ‘soft’ and ‘squishy’, but I’m rather smitten with the effect I’m getting with the yarn. If I like it so much using a single strand, what will I get if I double it up? Let’s find out.
![Color Theory double strand pattern swatch in garter stitch and simple mosaic created a cushy soft fabric with a US 9 [5.5mm] needle in Admiral and Amethyst colors; Lion Brand Color Theory](https://knitmuch.com/wp-content/uploads/image005-mg-23.jpg)
A Color Theory double strand swatch using US 9 [5.5mm] needle
I decided to try a US 9 [5.5mm] needle and held a strand of each Admiral and Amethyst together. I started off with garter stitch and then switched to a simple Knit 1, Slip 1 mosaic pattern. I decided to go no further with trying different needle sizes. I was ecstatic with the cushiness of the fabric for both stitch patterns which is exactly what I was after for two of my projects. Notice I said cushiness this time instead of squishy? That’s a clue as to what’s in store for the balance of the week.
My projects for the week include a button-up cowl, slippers, and a sit-upon. If you’re not sure what a sit-upon is, you’ll just have to stay tuned to find out. I hope you’ll join me tomorrow as I begin with the button-up cowl knit using Lion Brand Color Theory yarn in Amethyst.