All the beautiful patterns I’ve seen that knit with Kingston Tweed inspired me to design some projects of my own. In yesterday’s post about Kingston Tweed we looked at some free and paid patterns designed specifically with the qualities of this yarn in mind, and Monday we looked at 8 of the 15 colors and the characteristics that make this yarn unique. My designs incorporate some texture, like garter stitch, and the favorite of many, stockinette; however, with the way Kingston Tweed shows off raised stitches, I had to swatch for some other ideas. The braid stitch is one of them.

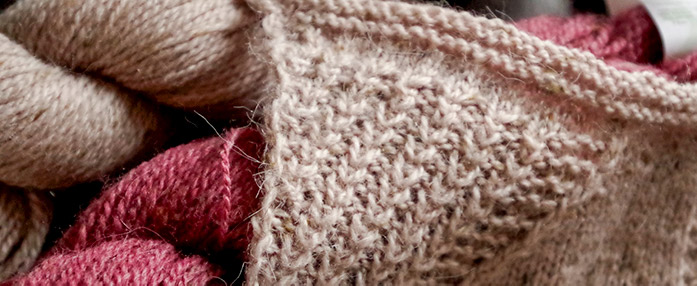
Alternating stripes of Kingston Tweed yarn in the Calcite (taupe) and Jasper (maroon) colors, using the Braid Stitch.
Before I explain how to knit the Braid stitch, I thought I’d show you another stitch that came about while I was swatching. I don’t have a name for this one yet, any suggestions?

This is the wrong side of the textured stitch I was swatching. Looks like a garter stitch rib, but the right side sure doesn’t.
The above picture shows the wrong side of the stitch pattern and below is the right side.

Not brioche, and not fisherman’s rib, just a new stitch I’ve invented…but back to the Braid Stitch now.
The Braid Stitch consists of a pattern worked across an even number of stitches, and it takes two rows to complete the motifs. I’ll show you how to work the Braid stitch in this pattern and I’ll explain it below as well.
The Braid Stitch
Row 1: With right-hand needle insert in back leg of first stitch on left-hand needle and knit up a stitch, leaving the other on the needle. Re-insert the right-hand needle into the same leg and the back leg of the second stitch on the left-hand needle and knit up a loop through both, but slide only the first loop of the left-hand needle. Knit a third stitch in the same loop on the left-hand needle and keep all 3 stitches just made on the right-hand needle— 3 stitches are made from 2.
Row 2 (wrong side): Purl 1, knit 2 together through back loops.

Stripes and texture together will make this design out of Kingston Tweed yarn pop!
This is part 3 of 5 in this series
Go back to part 2: 4 free knitting patterns perfect to knit with Kingston Tweed
Go to part 5: Knitting Fingerless Mitts with the Braid Stitch
