
In yesterday’s post we began to knit a trick-or-treat bag using Red Heart’s Chunky Soft and Reflective yarns. Now that the base is complete, I’m going to wrap up our series with the knitted sides and handles for our project.
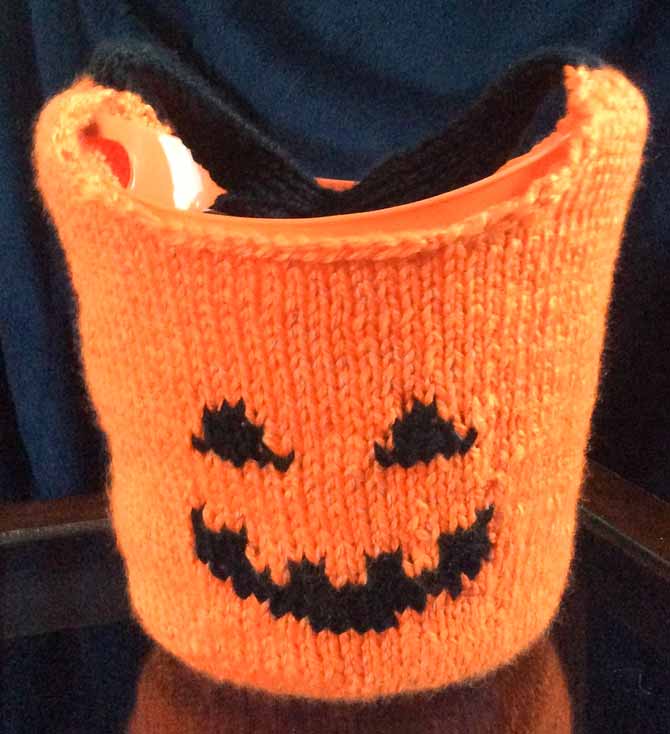
Cynthia’s trick-or-treat bag
The project is knitted in the round, and the face appears on both sides, so for 10 rounds of the chart for the face of the jack-o-lantern, we’ll be doing intarsia in the round.
Working intarsia in the round isn’t true “in the round” knitting: in order for the yarn to be in the correct location to work the next “round”, you need to come back along as you would in back-and-forth knitting. To avoid having seams where we do the intarsia, we need to link the rows of knitting together where the ends meet. This 4-minute video shows you how to work the ends of the rows.
intarsia in the round
Directions – sides
Round 1: with orange yarn, (m1, k8) around (72 sts)
Rounds 2, 3, and 4: k around
Round 5: (m1, k9) around (80 sts)
Rounds 6, 7 and 8: k around
Round 9: k12, m1, pm, k16, pm, m1, k24, m1, pm, k16, pm, m1, k12. (84 sts)
Markers denote the chart areas; the chart is worked twice on each round. Slip markers as needed. Chart may be worked in color stranding or intarsia, as desired. To work intarsia, wind small bobbins or make butterflies – 4 with ¾ yd [.7m] black for each eye, 2 with 5 yds [4.5m] and 2 with 1 yd [.9m] for each mouth, and 4 lengths of orange 1 yd. [.9m] to work teeth and between the eyes.
Rounds 1-7 and 14-16 of the chart are best worked with the intarsia-in-the-round technique. The other rounds can be worked circular style, as they are solid color rounds.

Our jack-o-lantern has a chipped tooth!
Round 10: k13, work chart, k26, work chart, k13, wt
Rounds 11, 13, and 15: p13, work chart, p26, work chart, p12, lift wrap from next st and ptog with the last st of the round, wt
Rounds 12 and 14: k13, work chart, k26, work chart, k13, lift wrap from next st and ktog with the last st of the round, wt
Round 16: k13, m1, work chart, m1, k26, m1, work chart, m1, k13, lift wrap from next st and ktog with the last st of the round. Do not turn – the 2 rem black sts for mouth in the next round can be worked from the rem black yarn. (88 sts)
Round 17: k14, work chart, k28, work chart, k14
Rounds 18-20 (rounds 9-11 of chart): with orange, k around
Round 21: with orange, k14, m1, slm, k16, slm, m1, k28, m1,slm, k16, slm. m1, k14 (92 sts)
Round 22: k around
Rounds 23: k15, work chart, k30, work chart, k15, wt
Round 24: p15, work chart, p30, work chart, p14, lift wrap from next st and ptog with the last st of the round, wt
Round 25 (remove all markers in this round except for the round marker): k15, work chart, k30, work chart, k14, lift wrap from next st and ktog with the last st of the round. Do not turn – the 1 rem black st for each eye in the next round can be worked from the rem black yarn
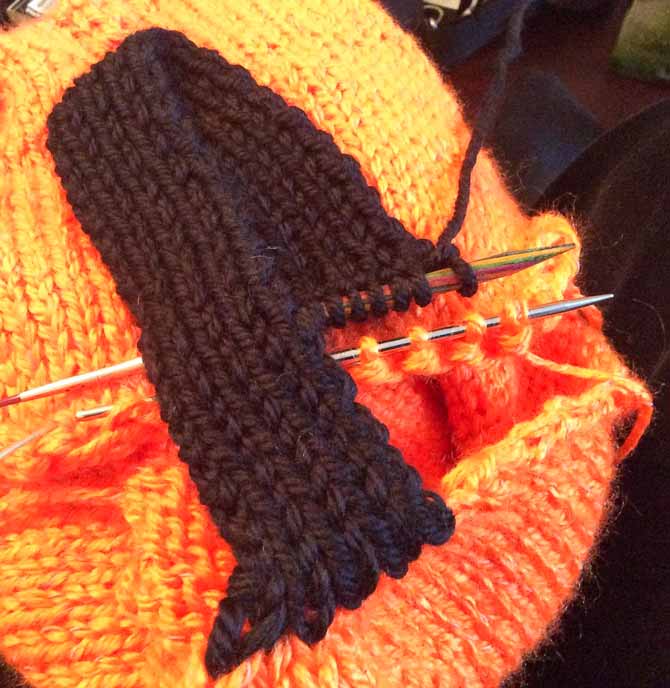
Placement of handle across the top of bag to join the two together

Purling 1 handle stitch with 1 bag stitch.