
This week we’re looking at a lovely, colorful singles yarn called Classic Shades Frenzy by Universal Yarn. Yesterday we looked at a roundup of free patterns. Today, I want to share with you a technique that suits this yarn very well because the color gradations are perfect for lots of chevron stitch patterns.
The eyelash stitch paired with decreases makes a lovely chevron effect in the lush Fern colorway of Classic Shades Frenzy.
One of my favorite things to do with self-striping or gradient yarns is to interrupt the striping effect with a texture. A little more than a year ago we looked at the eyelash stitch. Today, I’m revisiting this technique, but this time, I’ve paired it with chevrons to add directionality to the fabric. I know fashion writers come up with a lot of fluffy words to describe garments and fabric, but “directionality” IS a real word. It describes stitches that run in different directions to the usual vertical. In a chevron pattern, sets of stitches run diagonally towards and away from center points (usually vertical columns) along the fabric.
Paired decreases flank each eyelash stitch, pulling the fabric into a chevron pattern. With its sudden burst of increases, the eyelash stitch returns the stitch count to the original.
In my original post about the eyelash stitch, I showed you how to make a yarn-over eyelet as the “eye” of the stitch. Today we do something different. This time, insert the right-hand needle 4 rows below and under a column of horizontal strands between the two center columns of stockinette stitches in each repeat of the 14-stitch-wide pattern.
This isn’t a difficult stitch to execute, but there are two essential “moves” of which you need to be aware. First, identify the column of horizontal strands that will be the insertion point for the right-hand needle. I mark it with a locking stitch marker so that I don’t have to think and search for it later on.

Lifting loops from an eyelet in earlier rows creates this eyelash of bright strands against a coordinating color in the background.
Second, make sure that when you lift the loop through the fabric that you lengthen it both on the front (right-side or facing side) of the fabric, but also on the back. If you don’t, your rows will compress together. The “lashes” that on either side of the “eye” will be slightly more elongated than the center ones. If you aim to get the loops long enough to match to the height of the current row, you’ll be fine.
Here’s the simple pattern. With Classic Shades Frenzy, I would suggest this stitch is ideal for a blanket or a scarf; 2 skeins and 44 or 58 stitches would be perfect for the latter.
Cast on a multiple of 14, plus 2 sts (1 for each edge)
Row 1: Knit.
Row 2: Purl.
Row 3: K1, [k2tog, k5, place locking stitch marker around horizontal strand between the 2 needles, k5, ssk] across to last st, k1.
Row 4: Purl.
Row 5: K1, [k2tog, k8, ssk] across to last st, k1.
Row 6: Purl.
Row 7: K1, *k2tog, m1, [k1, insert RH needle under marked horizontal strand 4 rows below and knit, drawing up a large loop to the height of the current row] 5 times, k1, ssk; rep from * across to last st, k1.
Row 8: P1, *p2, [sl 1, p1] 5 times, p2; rep from * across to last st, p1.
Repeat Rows 1 – 8 for pattern.
Because we’re only adding 5 “lashes” in this stitch, but we are decreasing 3 stitches each side to make the chevron for a total of 6 fewer stitches per repeat, we add one more to make up the difference in Row 7.
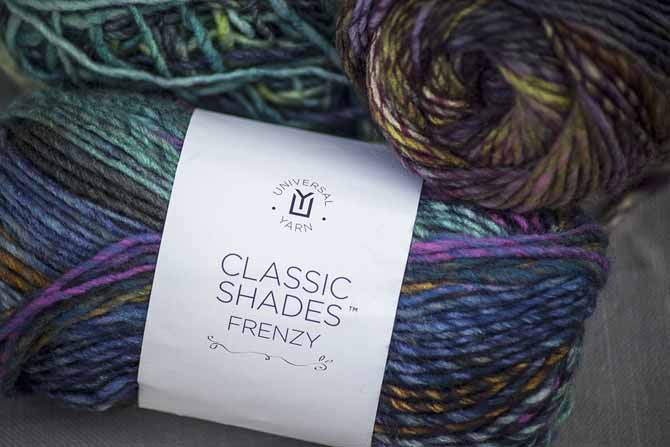
Any of Classic Shades Frenzy’s colorways make an excellent candidate for an eyelash-chevron scarf!
I hope you try this eyelash stitch pattern. It’s sure to turn eyes and heads your way as you walk past wearing a colorful Classic Shades Frenzy scarf. Tomorrow we’ll try our hand at knitting a square in the round…mind-bending!
This is part 4 of 5 in this series.
Go back to part 3: Free pattern roundup for Classic Shades Frenzy yarn
Go to part 5: This portable knitting project starts with a square, ends with a blanket