With all the talk about shawl knitting yesterday, I thought it would be a great time to talk about the shawl starting tab. This is a very common way to start shawl patterns and if you’ve never seen it before it can be a little bit jarring and confusing. Never worry though, the instructions are much easier than they appear.

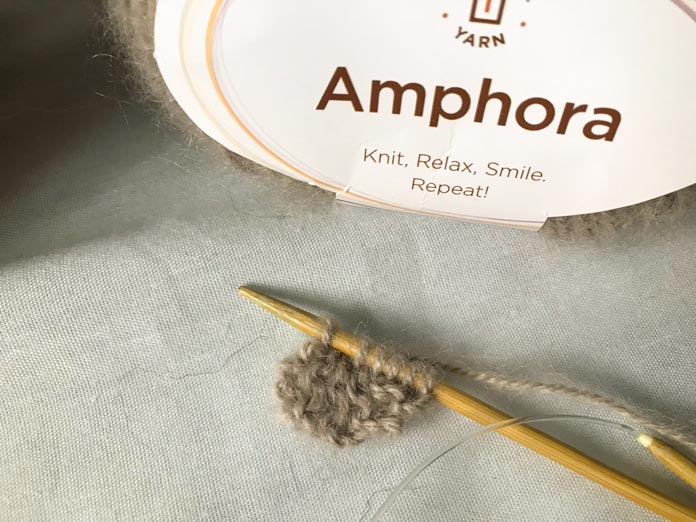
Here’s the small rectangle that’s your starting point. If it looks like this, you’re good to go!
I promise you this will make sense in the end! There are slight variations to each one, but the FlyingV pattern calls for you to cast on 3 stitches and knit 7 rows in garter stitch. As you’re doing this, you are going to be questioning how this is going to be a shawl and wondering if you’re doing the pattern correctly at all. You’re doing it right and while it might seem a little strange, you’re on the right track. After these 7 rows, you’ll have a small rectangle.

Your whole rentangle will distort and curve as you pick up stitches. This is completely okay, it makes the shawl lay flat at the back of your neck.
Next is to knit three stitches. Easy enough, turn your work and knit the three stitches you’ve been knitting.
Now here’s where we go off the deep end. Take the needle with your stitches on it, the ones you just knit, and pick up 3 stitches long the long edge of this garter tab. You now have 6 stitches on your needle.
One of the most common questions asked here is, where do I pick up stitches? I like to poke my needle through a likely place to pick up and stitch and apply a little bit of upward tension. If there will be a hole left from you picking up the stitch, you’ll see it by doing this.

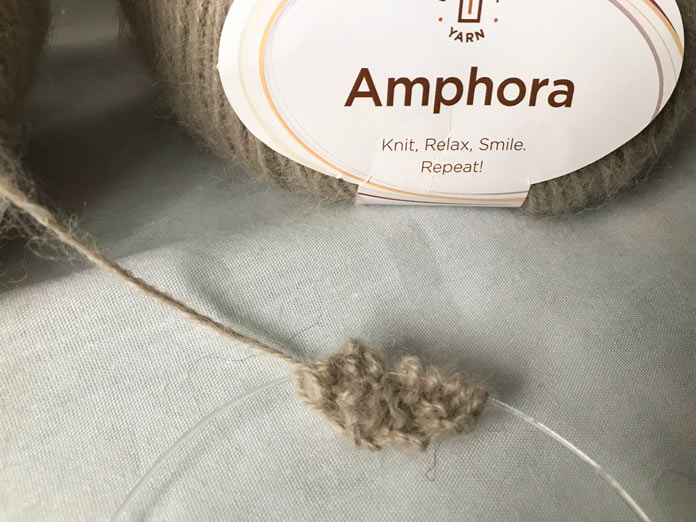
The finished product of your starting tab should look like this. A little half moon of stitches. One edge is completely flat.
Pick up 3 more stitches along the cast on edge. These are the last ones you have to pick up. Now you should have this little half circle of stitches around this garter tab. That’s it!
The hardest part is over! The next two rows are about placing your stitch markers and setting up for the rest of your pattern. Time to enjoy your knitting!
This is part 5 of 5 in this series.
Go back to part 4: Knitting the Flying V Shawl with Amphora yarn

1 comment
THANK YOU…THANK YOU…THANK YOU. MINE KINDA LOOKED THIS WAY, AND I THOUGHT IT WAS WRONG!!!