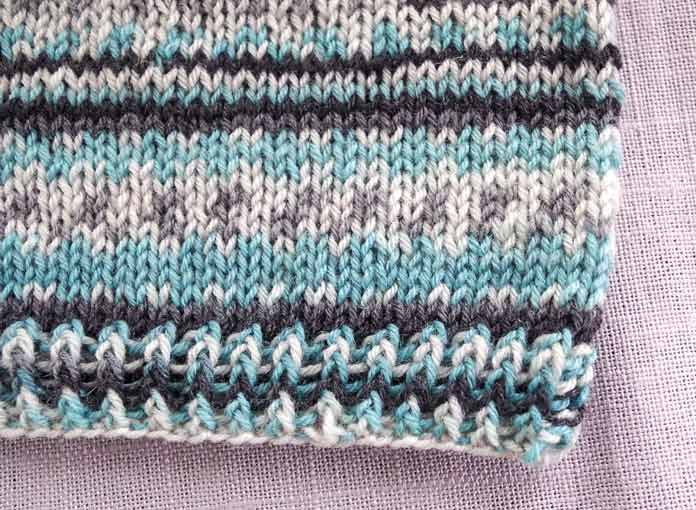
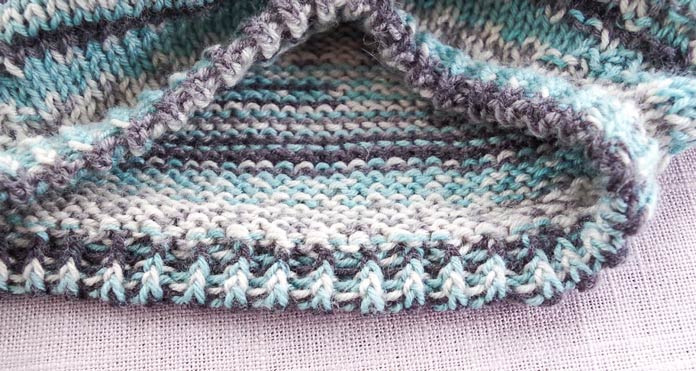
You know how some cast on edges, no matter how hard you try, are just too tight? Even using yarns that have great elasticity, like Wacki Saki, isn’t always enough. Looser cast-ons, bigger needles, stretchy cast-ons, these do work, but not everyone likes the look of them. A work-around that I use are rolled necklines. Today I’ll show you how I knit one on the baby sweater that I shared with you yesterday.

This ISN’T a rolled ribbed hem. This is bound off at the bottom of the sweater.
Okay…so I didn’t show you a photo of the rolled neckline. That’s coming right up. I just wanted to add another little side note that when you work top-down you’ll have to bind off loosely at the bottom of the body and sleeves so that it’s just as comfortable to get the rest of the sweater’s openings around the baby as the neckline. Another cool thing I discovered is that if you use a twisted rib, you don’t have to go down a needle size to make the ribbing cling tighter than the stockinette rows in between.

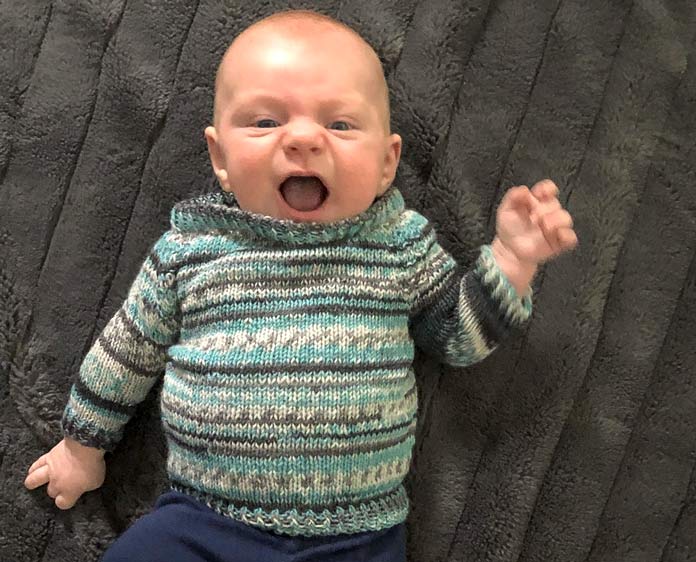
A rolled neckline makes this baby sweater a cinch to pull over the wearer’s head.
To work a rolled neckband you need to cast on with some scrap yarn that isn’t fuzzy or “sticky” so you can undo the cast-on edging without struggles or micro-tangles. Then, work the twisted ribbing for twice as many rows as you want to show on the outside of the neck, plus 1 more row for turning. End by working a WS row.
Then, undo the provisional cast-on and add the now-loose stitches onto a second needle that is a size smaller than what you used to knit the ribbing so that the point of the needle faces the same way as the larger needle.
Hold the work with the right side facing and the 2nd (smaller) needle with its stitches hanging at the bottom of the work. Bring the 2nd (smaller) needle up to the back of the work and hold it behind the current needle.
To knit the two edges of the rolled neckband together, insert the RH needle into the back loop (if it’s a twisted knit stitch) of the first stitch on the main needle, and immediately into the stitch on the additional (smaller) needle and knit the 2 stitches off together.
There is usually one fewer stitches on the needle used to pick up the provisional cast on, and, when you are knitting them together, the back stitches are half stitch “off”, so you may feel a slight bias lean, which will disappear or get blocked out later.

Mason loves his pullover, and it looks like it wasn’t a fuss to get it on.
Working a rolled hem or sleeve cuffs on a top-down sweater is a little trickier than doing the neckband. What’s involved is a mixture of grafting (or Kitchener stitch) and duplicate stitch because you’re joining the stitches on the needle to the inside of the sweater at the line where the ribbing joins the stockinette stitch rows of the body. It was a little more of a challenge than I could do this time in the time frame I had to get this sweater to Mason’s mom & dad, before he outgrew it. But I’ll definitely prepare a tutorial for a future series of blog posts.
I hope you’ve enjoyed what I’ve shared about Wacki Saki sock yarn and I also hope that you’ll try one of these 2 patterns soon.
This is part 5 of 5 in this series.
Go back to part 4: Knitting a top-down baby sweater in Wacki Saki – 1 ball!
[shareaholic app=”follow_buttons” id=”23784471″]
