In Monday’s post, one of the tips for knitting for babies was to make sure the buttons were sewn on securely. You don’t want to have one of the cutest, and irreplaceable, sweater buttons get pulled off and lost; or worse swallowed. Use these tips for button sewing and placement to make sure all your knits have perfect, and secure, buttons.

Materials used: needle, thread, buttons and button band (sample square pictured in the color Tulip)
The one aspect of buttons I always struggled with was placement. How do you know where to put the buttons?! I finally got some advice at my LYS. There are three non-negotiable buttons, the top, the bottom and one across the middle of the bust.
The middle one is especially important for ladies sweaters. If that button is too high or low, the button will gape unflatteringly. There’s a little bit more wiggle room with baby clothing because it’s not quite as curvy. When I’m looking to place buttons on a sweater I place the top one, the bottom one and the bust button, then scatter the other ones out as evenly as I can.
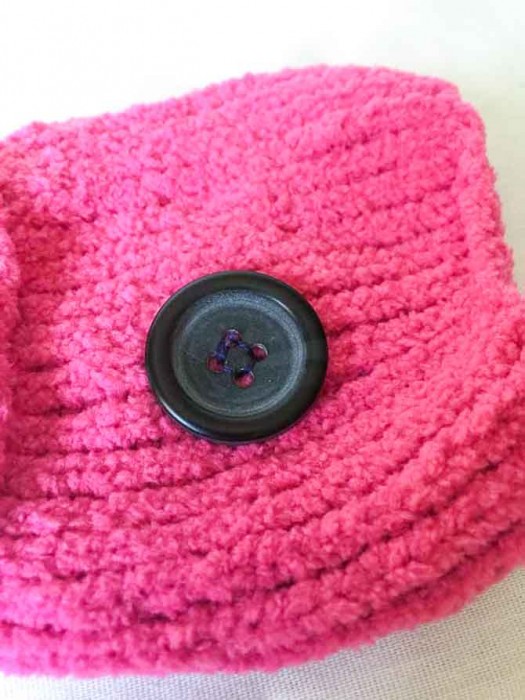
A few important things you should know about sewing buttons on knit wear
Another problem I had with buttons was when they would pull at the fabric they were sewn into. I always avoided buttons because I was concerned they were going to warp the fabric I was sewing them into.

Foundation button spreading the force over a greater surface area.
The best solution I have seen for this is to sew a foundation button to the back (wrong side) of your button on the button band. This spreads the force over a greater area when buttons are being pulled on and creates less opportunity for them to be completely ripped off. Perhaps I’m just overly hard on my buttons, but since I’ve been sewing them on with a foundation button, none of them have broken free.
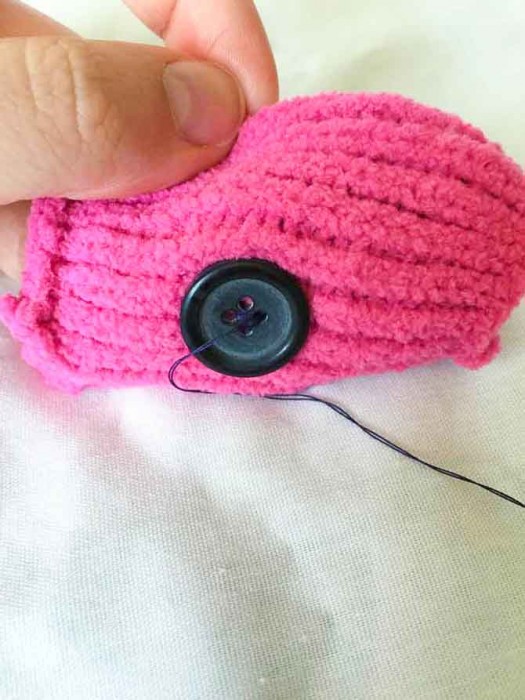
The wrong side of the button band with the foundation button.
As for the thread material, I always used the yarn I was working with to sew on buttons. I had heard that poly-cotton thread can be known to slice through wool and your button would come off. This opens up a whole new world of finding buttons with holes big enough for yarn to fit through; it’s an absolute nightmare. With the foundation button I’ve never had to worry about this because the other end of the thread is anchored around a separate button.
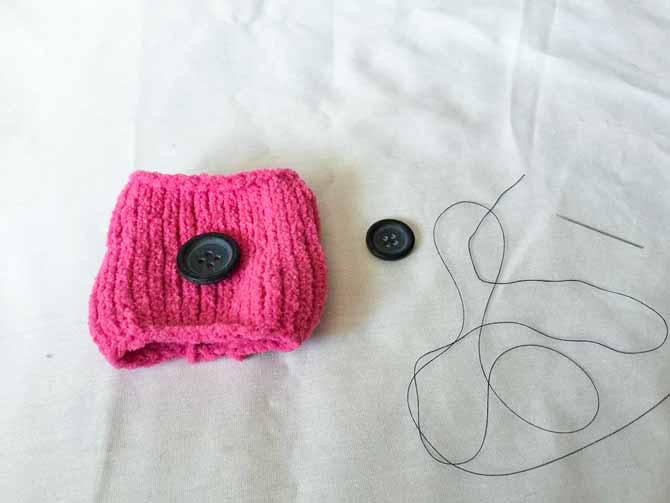
Preparing to sew buttons on!
As for actually sewing a button on, you will need thread, a needle, your garment and a button. Pass the thread through the eye of the needle and put a slipknot at the end. This way the thread is held double and stronger. Pass the needle through the button without pulling all the way through, then bring the needle back through your knitting. At this point I like to pass your needle through the tied end of your thread. This way the thread is locked in and you’re not going to realize your knot has not kept the end of your thread from passing through the knitting.
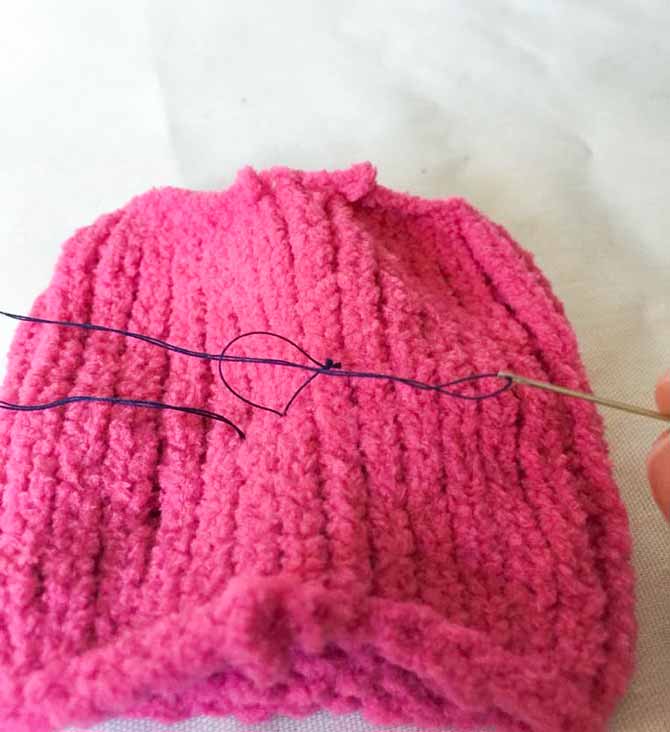
Anchoring your thread into your button band.
Continue to sew your button on. If you’re using a foundation button, just imagine you’re sewing them on back to back. When you’re ready to finish, wrap the thread around the outside of the button. This will wrap the ‘legs’ you’ve created with your sewing. Pass the needle through the very edge of this wrap to make a knot.
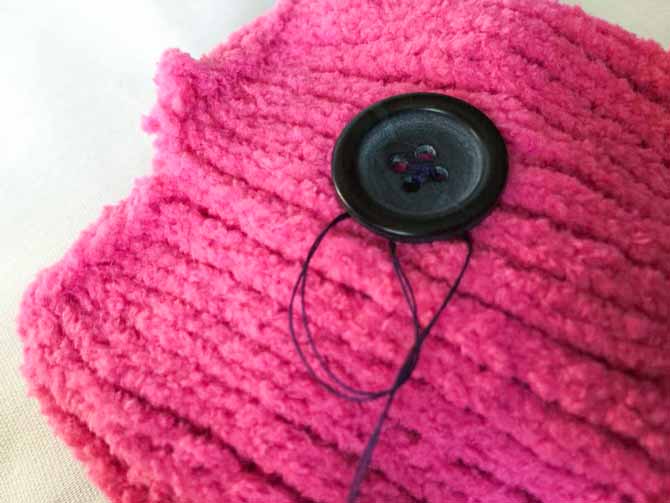
Making a knot and the finishing touches on your buttons.
With these tips your buttons will be completely baby proof. You can rest easy knowing that they aren’t going to come off or even stretch out the fabric they’re placed on. If I can’t destroy buttons sewn on like this during the course of my adventures, they are pretty much bullet proof.

1 comment
I can’t even find that foundation buttons exist. Could you leave a link for some. Thanks!