
Red Heart’s yarn, With Love, is perfectly suited to making luxurious slippers for house guests. With the hot summer months upon us I, along with many others, may be guilty of turning the air conditioning onto the ‘deep freeze’ setting. However, when I have people over who wear sandals, their toes turn blue on my floor. I keep a small stock of my favorite slippers on hand for just these occasions. Are you knitting slippers the hard way?
Slippers with Red Heart’s With Love yarn in the color Caramel
Materials:
1 Ball Red Heart With Love yarn
5mm (US 8) needle
1 Tapestry Needle
When knitting these slippers we start at the bottom, of the foot that is.
Cast on 6 stitches for the sole of the slipper.
Row 1: Knit all stitches
Row 2: Knit in the front and back (KFB), knit across until the last stitch and KFB.
Repeat these two rows until there are 14 stitches (men’s) or 12 stitches (women’s) on your needles. If you are looking to accommodate a narrow foot, stay at 10 stitches.
Continue knitting in garter stitch until the sole of the slipper is 2.5 inches shorter than the foot length you’re aiming for. These slippers have a tremendous amount of stretch and they generally stay on the foot better if they are stretched out a little bit.
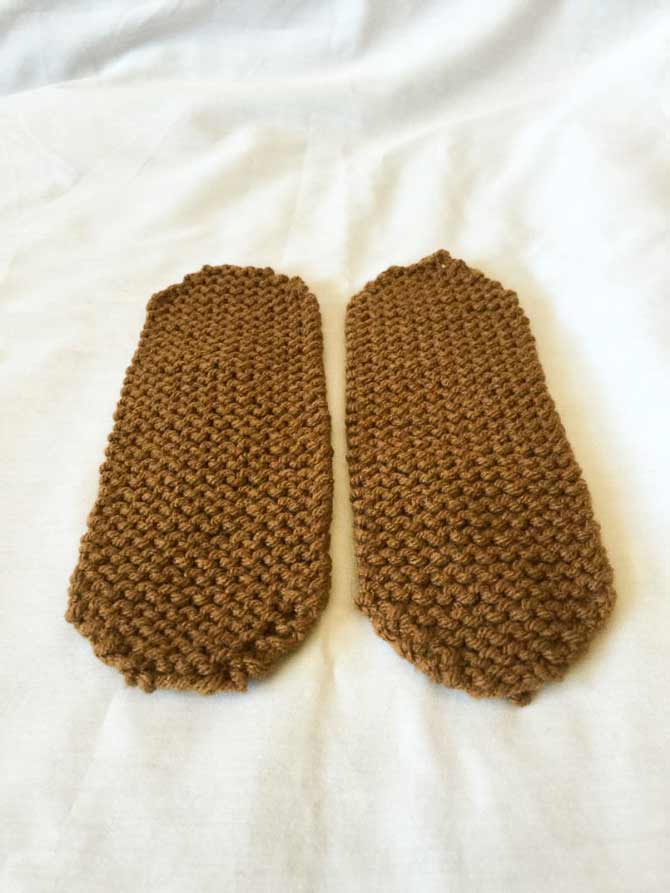
Two finished soles!
After you have reached the desired length, begin the decreases for the toe.
Row 1: Knit two together (k2tog), knit across until the last two stitches, slip slip knit (ssk)
Row 2: Knit all stitches
Continue in this manner until you have 6 stitches left on the needles and bind off with your favorite technique. You don’t need to weave in the ends yet, they might come in handy while putting the two pieces together.
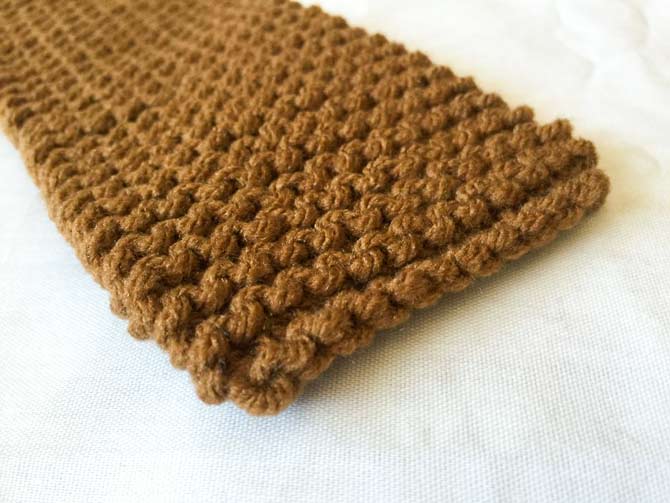
The beginning of the top of the slipper
For the top portion on the slipper, cast on 12 stitches. Knit in garter stitch until the length of the piece you’re knitting is double the length of your sole. The easiest way to check this is to fold the long rectangular piece in half and lay it over top of the sole. Then bind off with your favorite technique.
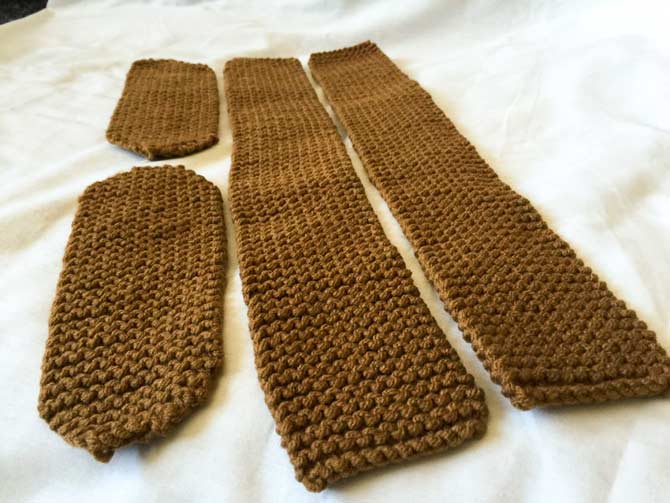
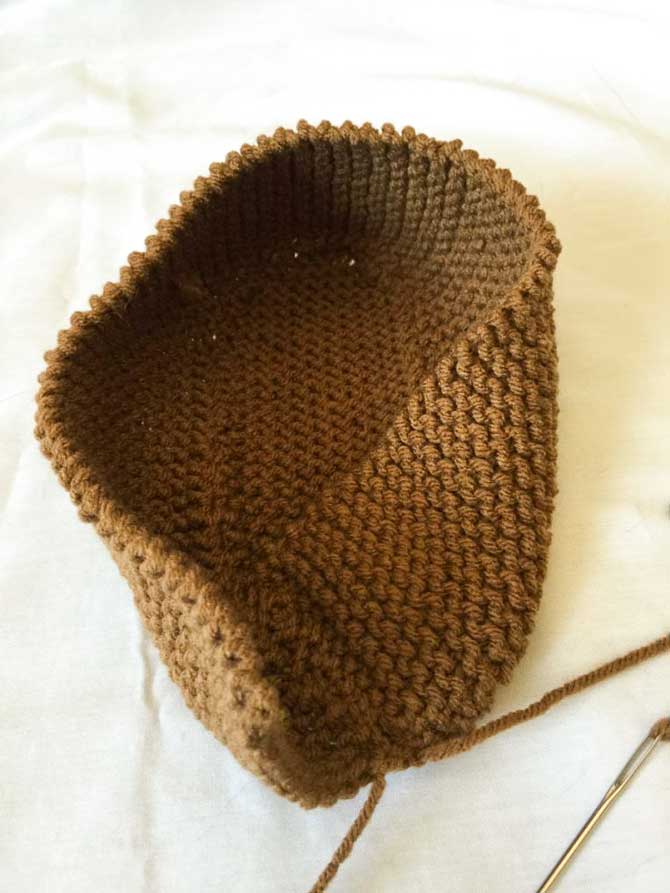
All the pieces together, ready to become slippers.
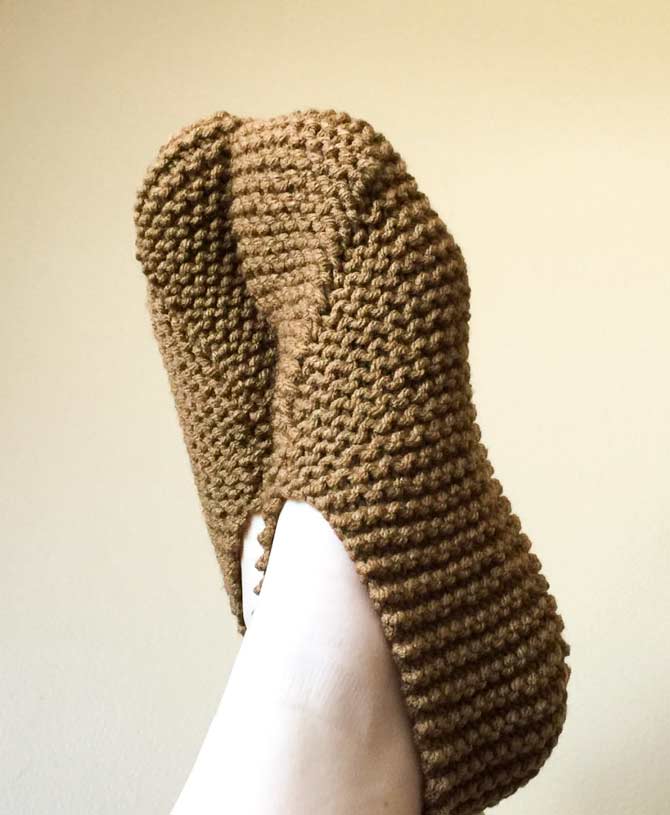
Now all that’s left is the seaming! Fold your long rectangular piece in half and place the mid point in the centre of your sole’s heel. Begin whip stitching the edges together from there. I would highly recommend pinning these pieces together to make sure the length would be the same on both sides. With the heel in place, the outside corners of the long rectangular piece should meet at the apex of the toe, see photo below.
See how the ends of the rectangle criss cross over each other? This will make the toe double thick and super warm!
Seam both sides, but stop before you get to the toe, we’re seaming the slipper inside out and these edges you are creating will be hidden on the inside. The first side you sew will be the top layer when you turn the slipper right side out.
One side sewn in, the other side is next.
When making your second slipper, make sure to seam the opposite side first so the line across the top of the slipper runs the other way. That is an aesthetic choice and if you accidentally do them both the same way it’s not a functional catastrophe. If the V in the slipper is too wide for your liking simply sew it together until it is the appropriate width.
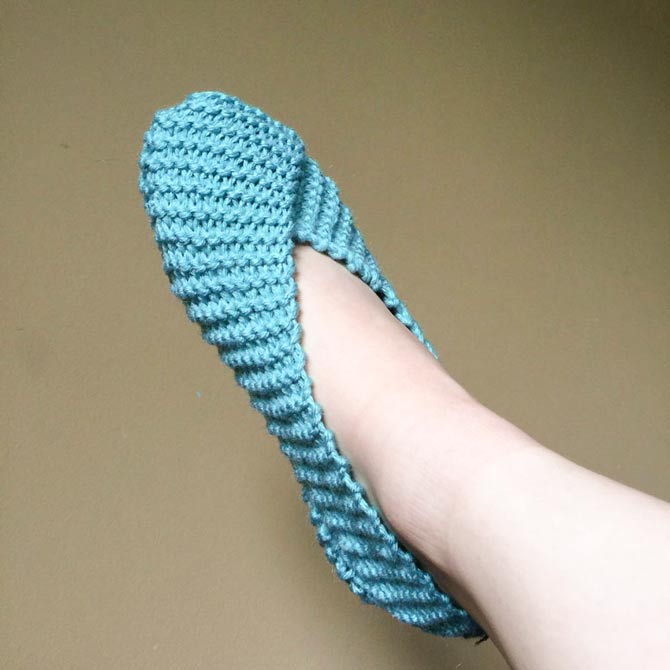
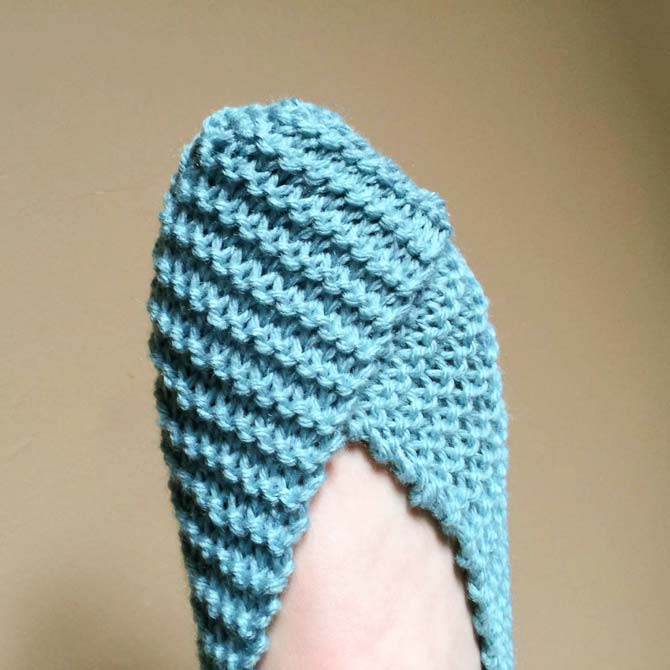
Red Heart’s With Love in Iced Aqua
Possibly the best part of Red Heart’s With Love slippers, is the washing directions. They are machine wash and dry, so after use, simply toss them into the wash. These luxurious slippers are amazing year round for keeping toes warm, you’ll just have to watch that no guests leave with them still on!
3 comments
Do you think these could be felted?
do we kfb at the start and then the end on the soles
Hello Estelle, yes! You would KFB at the beginning and the end of the soles.