
Practice four different cable stitches with this lovely lattice stitch.
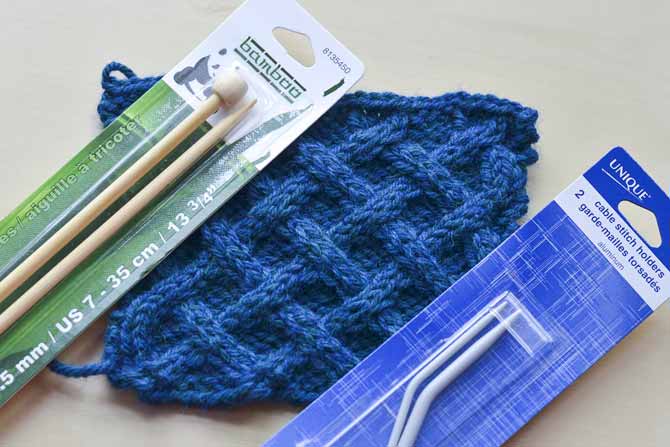
Today is our fourth day of exploring different kinds of knitted stitch patterns. So far we have looked at basic stitches to help your edges lie flat, and both simple and complex variations of knit and purl stitch combinations. This time we’re going to look at a cabled stitch pattern, the lovely overlapping lattice stitch seen here. Cables are very beautiful, impact-ful stitches. The best thing about them is that cables look more complicated than they are.
All knitting patterns use different combinations of knit and purl stitches, and the only difference with cable stitches is that some stitches are temporarily held aside on a cable needle. You’ll need some 4.5mm knitting needles, a cable needle, and your favorite worsted weight yarn. Join us and practice these beautiful cables!

The overlapping cables give great three-dimensional texture!
To work this swatch with the lattice stitch, you’ll need to know 4 cable stitches:
- C4L: (Cable 4 to the left) Place 2 sts on cable needle (cn) and hold in front. K2. K2 from cn.
- C4R: (Cable 4 to the right) Place 2 sts on cn and hold in back. K2. K2 from cn.
- T4L: (Travel 4 to the left) Place 2 sts on cn and hold in front. P2. K2 from cn.
- T4R: (Travel 4 to the right) Place 2 sts on cn and hold in back. K2. P2 from cn.
The first 2 in this list are made up of all knit stitches. The second 2 use half knit stitches and half purl. In both cases the stitches that sit “forward” on the needle are always knit stitches. Purl stitches always behave as “background” stitches and will not be the ones held to the front of the work.
For this lovely little swatch, work as follows:
- Cast on 34 stitches. (or, a multiple of 8, plus 1 extra at each edge).
- Row 1 (RS): K1. *P2, C4R, P2. Repeat from * to last stitch. K1.
- Row 2 and all other even number rows (WS): K1. Work all stitches “as they appear” to last stitch. K1.
- Row 3 (RS): K1. *T4R, T4L. Repeat from * to last stitch. K1.
- Row 5 (RS): K3. *P4, C4L. Repeat from * to last 7 sts. P4, k3.
- Row 7 (RS): K1. *T4L, T4R. Repeat from * to last stitch. K1.
Repeat these 8 rows a total of 3 times or until desired length. This is a handy thing to practice – can you see these cables smartening up the front panel of a sweater, or made into a long rustic scarf? Once you get cables into your brain you might not be able to let them go!
Tomorrow we’ll be back with one more stitch pattern to try out. Be sure to give cables a try if you haven’t before – this post from our KNITmuch archives will get you started with the basic cable stitches, and the internet is vast with resources and tips, as well as patterns. If you’re intimidated by cables, just keep practicing and remember that cables look more complicated than they are!