
Stitch dictionaries abound, and you can always find a new idea for a stitch pattern on Pinterest or with a Google search, but sometimes, you just may not want to use the stitch pattern that you’ve found as is. You want to change the stitch pattern a wee bit, but you’re not quite sure how. This week we’ll explore why you may want to change a stitch pattern, when it’s a good idea to make a switch, and how to change a stitch pattern.
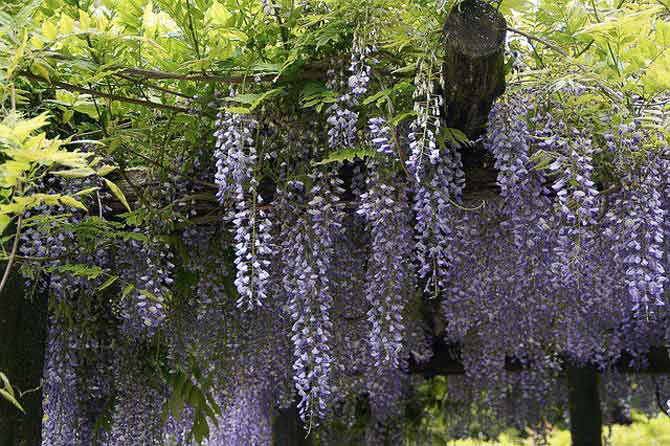
A wisteria vine
The wisteria stitch
The stitch pattern that we’ll be exploring this week is a traditional stitch pattern that stylizes the cascading petals of the wisteria flower. While the actual flower has an unruly column of petals that create luxurious plumes that sway in the wind, the knit wisteria stitch is a little more orderly and arranges the stitches to look like columns of stitches and the lovely airy spaces in between.
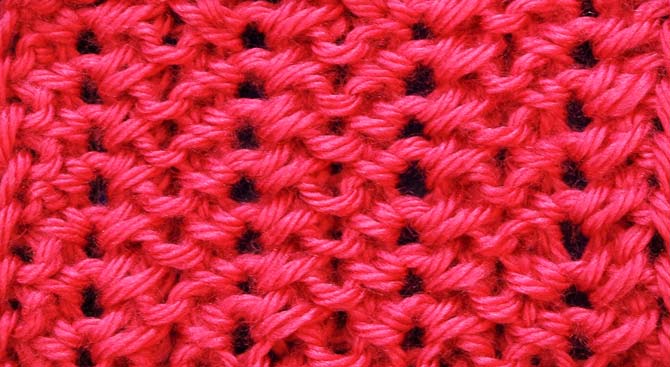
Right side of the traditional wisteria stitch pattern
To knit the traditional wisteria stitch pattern you need a multiple of 5 stitches for each pattern repeat, plus 1 selvedge stitch for each side.
The wisteria stitch pattern has less drape than stockinette stitch when worked in the same needle size as that recommended for the yarn of your choice, so if you want a little more flexibility and lightness to the resulting fabric, you’ll want to use a needle size larger or a yarn whose twist and fiber content give a lot of natural drape to the knitting.
The chart and instructions for the wisteria stitch pattern are below. Tomorrow we’ll look at the first ‘when, why, and how’ to change a stitch pattern using this pattern. If you’re knitting along and exploring these swatches, I’d encourage you to try different yarns and different needles sizes.

Wisteria pattern stitch diagram and symbols key
Instructions
Cast on desired number of stitches. There should be a multiple of 5 stitches, plus 2 (one for each selvedge).
Row 1: S1 wyif, [k2tog, yo, sl 1 wyif, s1-k1-psso] across to last st, k1.
Row 2: S1 wyif, [k1, pdblinc, k1] across to last st, k1.
Rows 3-20: Repeat rows 1-2.
Abbreviations
k = knit
k2tog = knit 2 stitches together.
pdblinc (purl double increase) = [purl, yrn, purl] all in next st together with yarn over.
s1 wyif = with the working yarn in front, insert the right needle into the next stitch as if to purl and transfer the stitch from the left needle to the right.
s1-k1-psso = slip one stitch knitwise, then knit next stitch and pass the slipped stitch over.
yo = bring yarn forward and as you knit next stitch, allow to form a new stitch over right needle.
yrn = take yarn from front over right needle and return to front between needles (counter-clockwise)
The wrong side of the wisteria stitch pattern is also lovely and highlights the eyelets slightly differently with what looks like three pairs of arms pulling back the petals to reveal the eyelet.
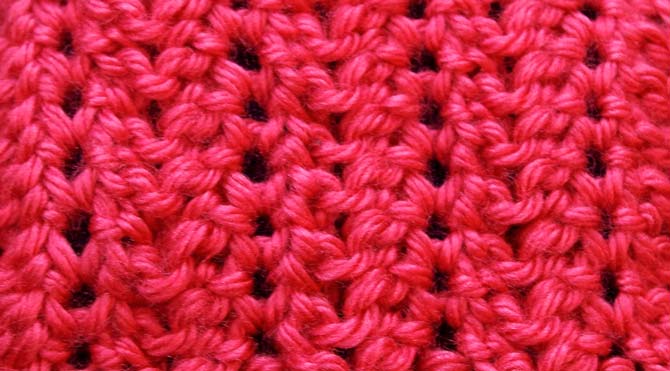
Wrong side of wisteria stitch pattern