
Getting Comfy with a Dreaded Sock Technique
My last post was about the amazing properties of knitting socks with Red Heart’s Heart & Sole yarn, anywhere and how they’re really not that intimidating. The question I’m asked the most about sock knitting is the heel flap. This is my favorite heel technique and I highly promote it, but many people find it confusing. I think this is because, to read it, it looks mind-bending. When you’re in the moment, it makes sense though.
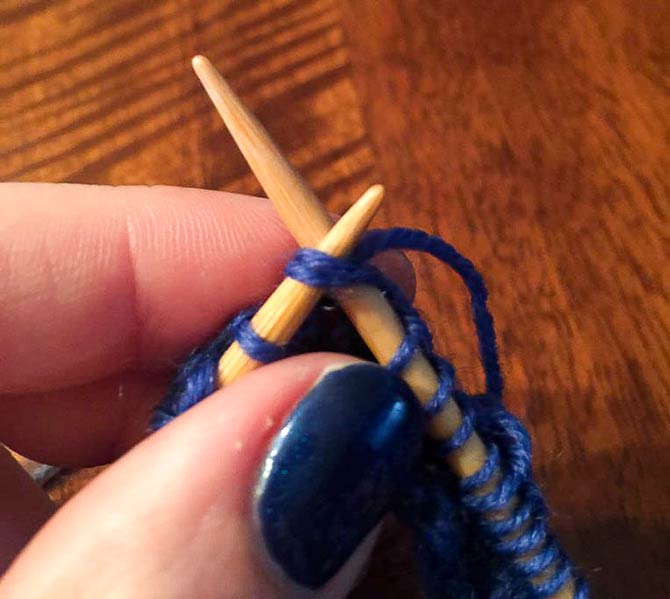
SSK happening right here!
A heel flap is what makes the sock turn at a 90-degree angle in order to accommodate your heel. It involves leaving half of your stitches ‘un-knit’ and held on another needle and working on the other half. You literally leave those stitches just to hang out on the other side of the sock. That’s the top of the foot. The other half are knit back and forth to make a flap.
The heel turn is really where people get confused. You have to turn the heel so you get a nice rounded heel. Your heel is not square and even if you make a square heel you’ll get blisters from the little corners of extra fabric in your shoe.
There will be a little space between the two stitches you need to knit or purl together.
It’s usually written like this…
Purl until you’re 13 stitches from the end. P2tog, p1. Turn work even though you’re in the middle of a row. Slip rest stitch purl-wise and knit across until you’re 13 stitches from the end. Ssk, k1. Turn work again.
Purl until there are 12 stitches left p2tog, p1; turn. Knit until there are 12 stitches left ssk, k1; turn. Purl until there are 11 stitches left p2tog, p1; turn. Knit until there are 11 stitches left ssk, k1; turn. Purl until there are 10 stitches left p2tog, p1; turn. Knit until there are 10 stitches left ssk, k1; turn. Purl until there are 9 stitches left p2tog, p1; turn. Knit until there are 9 stitches left ssk, k1; turn. Purl until there are 8 stitches left p2tog, p1; turn. Knit until there are 8 stitches left ssk, k1; turn. Purl until there are 7 stitches left p2tog, p1; turn. Knit until there are 7 stitches left ssk, k1; turn.
I know, ‘what the heck are they talking about there?!’ You’re knitting the middle stitches more than the others and decreasing them in a uniform fashion. Thing is it makes the edges of the heel flap naturally gravitate towards each other.

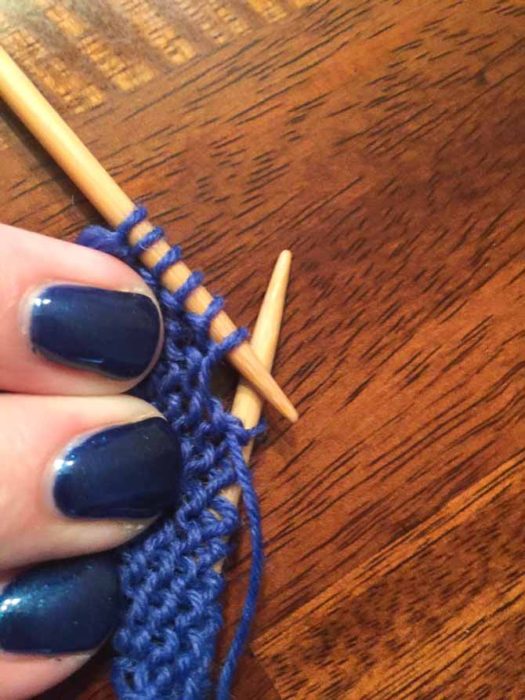
This is what your heel should look like when you’re done! A little rounded and ready to fit snug around a heel.
The perfect project to practice is the stocking pattern we put up here. It’s a heel flap construction, but tiny! That way it isn’t a huge investment and much less intimidating! Please share my total and complete infatuation with heel flaps and give it a try!
This is part 3 of 5 in this series.
Go back to part 2: 5 tips to maximize your knitting time with Heart & Sole Yarn by Red Heart