
We’re almost finished knitting our Top This hats this week on the KNITmuch blog! In our last post we talked about knitting in the round, which is what you’re doing most of the time when making a hat. The next step is to do the simple stitch decreases needed to shape the crown of the hat, or the very top of the hat.
For this kit, the decreases are worked as a simple spiral, where the decreases are spaced evenly around each round. You can see below what this looks like when it’s all finished.

What the top of your hat will look like with all the finished decreases.
The first thing you’ll need to do is transfer your stitches from your circular needle (if you were using one) onto your double-pointed needles (DPNs). As you decrease stitches, it will be harder to fit them onto the fixed circumference of the circular needle, so even if you start a hat with a circular needle you’ll also need the DPNs in order to finish it.

Transfer your stitches to double-pointed needles for the crown decreases.
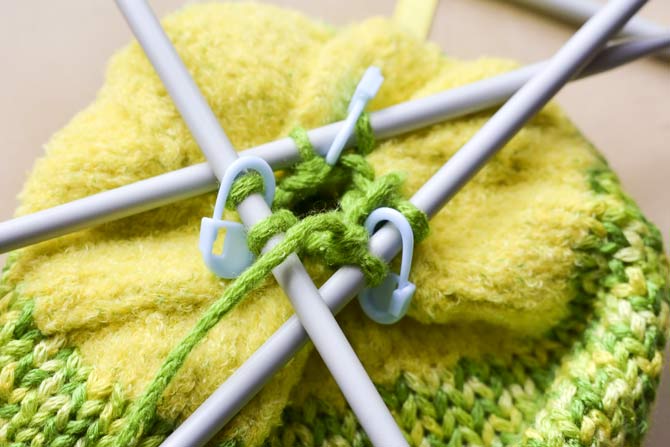
The other step you’ll need to do is place stitch markers around the needles, evenly spaced according to the pattern instructions. Since we’re using the DPNs at this point, the gap between 2 DPNs counts as a “marker”. So, we’ve got the same number of stitches on each needle, and the same number of stitches in between markers. Now we’re ready to start the decreases!

Place stitch markers evenly around the needles as indicated by the pattern.
There are many different ways to work stitch decreases in knitting – as with many other techniques! In this case we are working the “K2tog” decrease as indicated by the pattern in the kit. This is the most simple decrease, which is simply to “knit 2 stitches together.”
Our decrease rounds are simply to work to 2 stitches before the marker, then work the k2tog. This involves inserting the right hand (RH) needle through the first 2 stitches on the left hand (LH) needle (as seen below), and then continue as you usually would for a knit stitch by pulling the stitch through and onto the RH needle.

The K2tog: knitting 2 stitches together.
As new knitters, many of us end up working the K2tog by accident, not noticing that we are knitting 2 stitches together instead of just one. Then we end up wondering why the stitch count has changed, and figure out what went wrong. But in this case we are doing the decreases on purpose!
For these hats this continues for every marker on every round, until we are left with only 1 stitch between each pair of markers (as seen below). At this point, your decreases are finished! And probably the DPNs are starting to feel a little awkward and wobbly with most of their stitches decreased away.
Eventually the markers will be separated by only 1 stitch.
All that’s left now are the final finishing steps! And we’ll get to those in our final post of the week, tomorrow. These simple stitch decreases are easy to work and get you almost to the finish line!