This week, I’m knitting with Red Heart Baby Hugs Medium – a cuddly soft acrylic that is easy to care for, and comfortable to wear.
Yesterday, I made a lovely dress befitting a little princess that combined Baby Hugs with An Italian Story Luce. Since Baby Hugs is soft enough for toddlers and infants, then it should be great to use for the big kids in the family. Today I’ll make a hat that combines a solid color with a variegated one.
When knitting with a variegated yarn, sometimes you’re less than happy with the end result because it’s difficult to control the pooling of colors. This stitch technique eliminates that issue completely. For today’s project, I’ve selected Blueberry as the solid color, and Daydreamer as the variegated.
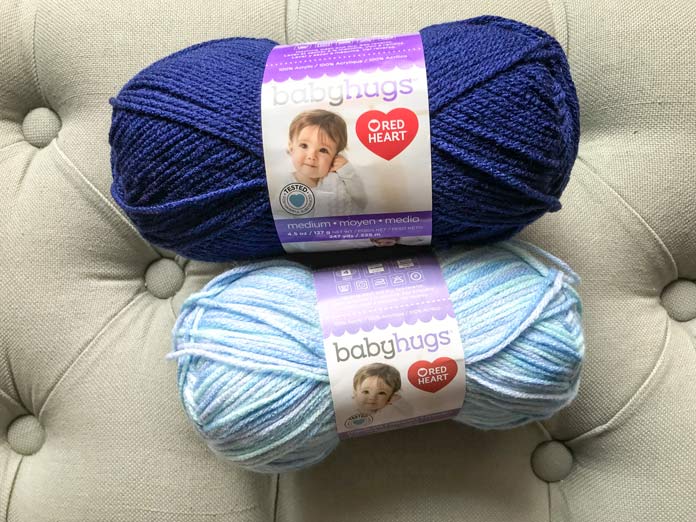
Blueberry for the solid color, and Daydreamer for the variegated
I based this hat on the Knit Roll Brim Hat, a free downloadable pattern, which is for a different yarn, but with the same gauge as Baby Hugs. It’s written to work the hat flat and then seamed. I’ll work it in the round using the magic loop method, which means no seam. Yay!
The stitch pattern I’m using looks complicated, but is actually very easy to do.
materials
- 1 ball of MC – Blueberry, and 1 ball of CC – Daydreamer
- 32” US9 [5.5mm] circular needle (magic loop), or dpns
- stitch marker
- tapestry needle
gauge
16 sts, and 24 rows over 4” [10cm] using US9 [5.5mm] needle in stocking stitch.
Because the pattern instructions are written for knitting flat, it calls for casting on 73 stitches. I’ll cast on 72 stitches as I need an even number of stitches and do not need a selvedge for seaming.
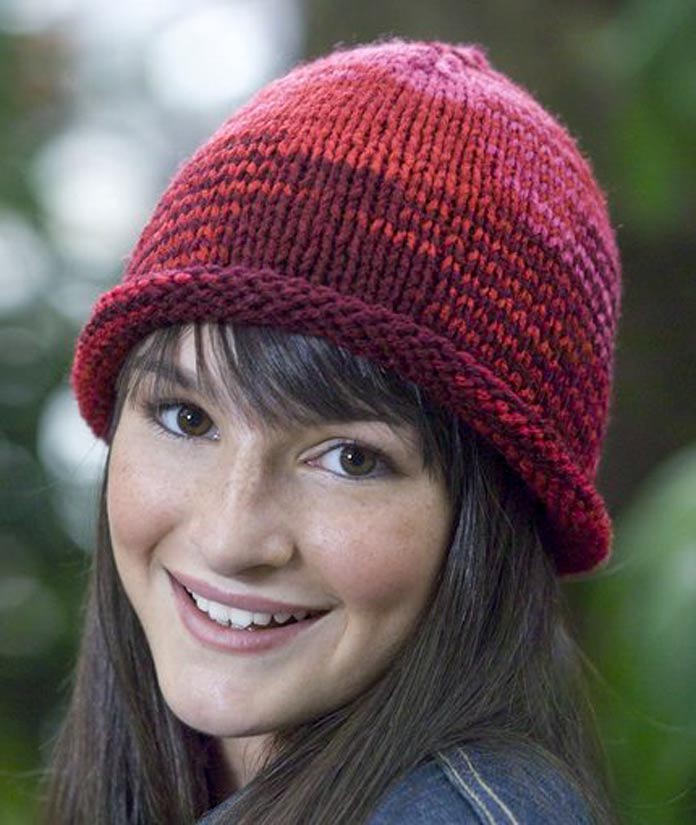
via: redheart.com
Using MC and US9 [5.5mm] needles, cast on 72 stitches, and join in the round, being careful not to twist the stitches. Place a stitch marker to mark the beginning of the round. Knit for 1” (approximately 6 rounds). Do not cut yarn.
Pattern Section
Row 1: With CC, *k1, p1, repeat from * for the round.
Row 2: With MC, knit.
Row 3: With CC, *p1, k1, repeat from * for the round.
Row 4: With MC, knit.
Yesterday, I talked about shifting the stitches when changing colors so as not to show the “purl bump” on the right side. With this pattern, the purl bump is part of the pattern, so I want it to show. So simple to do, yet it looks so complex.
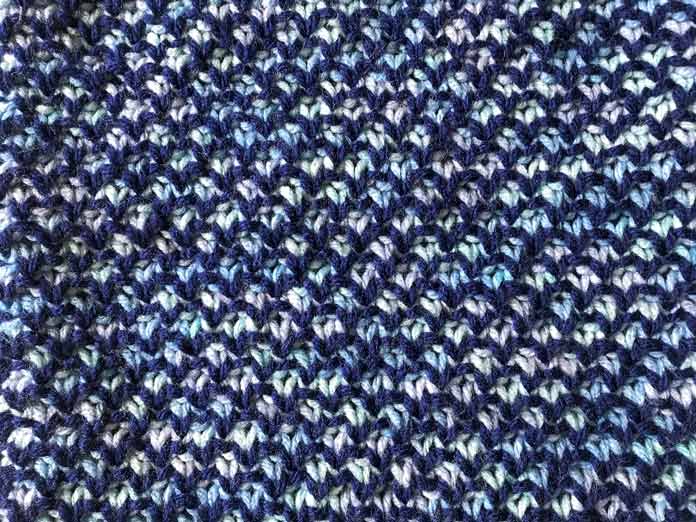
A 4 row repeat of the pattern combining a solid with a variegated creates this effect
Repeat these 4 rows until work measures 7”, ending with Row 2 or 4.
Now, proceed with the pattern instructions for shaping the top with the MC, but because I cast on 1 stitch less in the beginning, I’ll end up with 8 stitches at the end instead of 9.
I wanted to embellish my hat a little more, so using the tapestry needle, I fed through the tail of my knitting, along with 2 long strands (about 24” each) of the variegated and 2 more strands of the solid halfway through the remaining 8 stitches and pulled the hole closed.
With the 9 strands of yarn, I divided them into 3 bundles, and started twisting, and twisting, and twisting some more.
Then I folded the 3 twisted strands in half and they automatically twisted around each other. I secured it by tying a knot at the top of the hat and cutting off the excess yarn.
I repeated the process for each of the other two sets of 3.
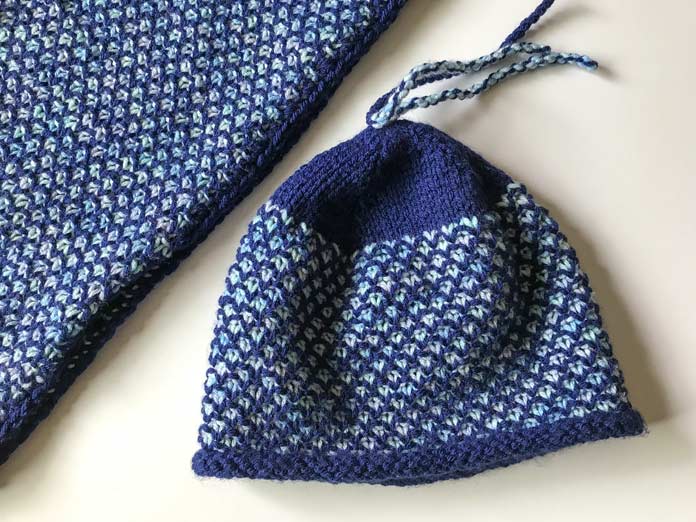
Finished hat embellished with 3 sets of twisted strands
What fun this was to make. You can see the variegated colors through the solid lattice without any concern for color pooling. At first glance, everyone to whom I’ve shown this, tries to figure out the stitch pattern, thinking that it’s more complicated than it is.
I learned this pattern stitch from my knitting friend Gloria, who in turn, learned it from another knitting friend of hers. There’s a tremendous benefit to be gained from social knitting. You learn so much from each other.
I’m very happy with the finished product. Tomorrow, I’m showing you how to make the matching cowl, but I’ll knit it flat instead of in the round. The technique for achieving the same stitch is quite different when knitting flat, and tomorrow’s post will reveal all.
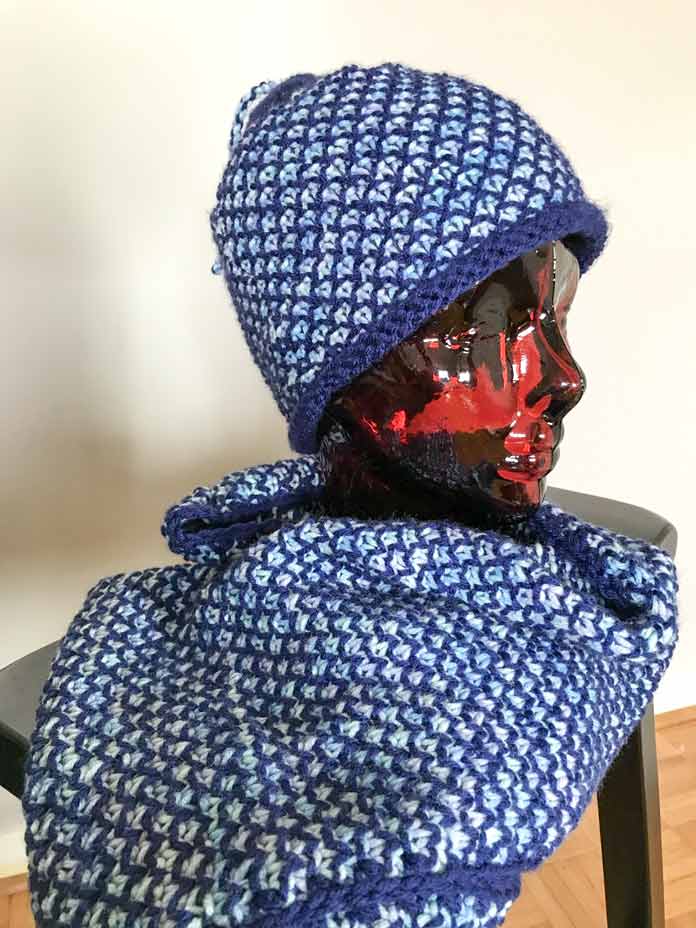
There is so much ‘movement’ in this little duo, with so little effort in the knitting stitch! Red Heart Baby Hugs Medium yarn is soft for babies, can you imagine how it feels for you?
This is part 4 of 5 in this series.
Go back to part 3: Adjusting the stitch count for Luce to knit with Baby Hugs Medium yarn
Go to part 5: A sensational cowl knitted flat instead of in the round
[shareaholic app=”follow_buttons” id=”23784471″]

3 comments
You don’t include directions for decreasing on the hat !
The detailed instructions are in the downloadable pattern Knit Roll Brim Hat. Click on the link and it will take you to the pattern. The story talks about the stitch pattern I used on the hat which is different from the pattern instructions.
Brilliant! Variegated yarns are cool but some colorways look like the vomit comet paid a visit when knitted up. This technique will help me use them up and I may actually like them :)