
Cabled stitches are beautiful and easier to learn than you might think! A cable needle is an essential tool for this technique.
Today we’re continuing with our lesson in knitting with cables which we started yesterday! In yesterday’s post we looked at how to work a basic C4L cable – a cable over 4 stitches that leans to the left. The C4R is worked very similarly, using our cable needle just as before. Cable needles are easy knitting tools to use!
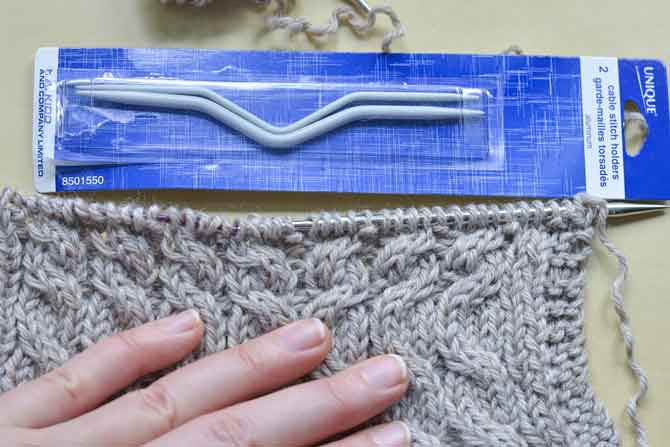
Cable needles come in different varieties, but all are essentially a shorter needle that holds a small number of stitches for a very short time. Cable stitches are worked by manipulating traditional knit and purl stitches, so they don’t create any new stitches, they just rearrange them. Below, we’ll demonstrate the C4R cable.

C4R (right cable over 4 sts) Step 1: Slip first 2 stitches onto a cable needle.
Just like the C4L, because we’re working over 4 stitches, the first step is to slip 2 stitches onto the cable needle. Typical cables work with half the stitches at a time (although that’s not always the case). When slipping your stitches, slip them “as if to purl”, in other words, slip them so that you don’t twist the stitches in the process.

C4R (right cable over 4 sts) Step 2: Hold the cable needle in back of the work (behind the needles).

Holding the cable needle behind the work for C4R.
The next step is to hold the cable needle behind the work, as opposed to holding it in front of the work for the C4L. You can see in the two photos above how this looks. Again, the first time you do this might feel a little awkward, but that’ll get easier with practice!

C4R (right cable over 4 sts) Step 3: Knit the next 2 stitches as normal.
The next steps proceed just as we did with our C4L before – hold the stitches on the cable needle, then knit the next 2 stitches from the left hand needle like normal. The stitches on the cable needle are waiting patiently, just held in back instead of in front.

C4L (left cable over 4 sts) Step 4: Slip the 2 stitches from the cable needle back onto the left hand needle, to knit as normal.
Finally, transfer the stitches from the cable needle back to the left hand needle, and then knit those stitches like normal. That’s it! You’ve done a C4R. Hold it up and admire your handiwork.

Once you know the basics of cables, there are so many possibilities for your knitting!
Depending on the pattern you’re using, cable stitches might be written down as ‘back’ or ‘front’ cables instead of ‘right’ or ‘left’. This refers to the placement of the cable needle rather than the visual direction of the cable.
So, a “C4R” and “C4B” are the same thing, just as “C4L” and “C4F” are the same. It’s more typical for contemporary patterns to use the left and right terminology, but there are decades of knitting patterns out there to knit from, so it’s good to know just in case.
Either way, cable needles are easy tools to learn to use and I hope you’ll enjoy knitting with cables this coming fall and winter! Stay tuned tomorrow for knitting fun!
2 comments
i would like to sign up for newsletter.
Hi Lorna, to sign up for our FREE newsletter and get your FREE ebook: click on the image of Cynthia MacDougall’s Knit Together: Knitting Essentials, on the right hand side of the page. It’ll bring up the sign up info. Thanks for asking, enjoy!