
You’re not going to want to hang this on the mantle!
With the holiday season soon approaching it’s time for decorating! Today, we explore the 6 essentials when knitting a holiday stocking with fur trim from what looks like a simple sock using Red Heart’s Boutique Fur trim! The yarn used for the sock is Red Heart’s With Love, which comes in every color imaginable, and Boutique Fur for the trim. The ultimate custom-made stocking.

The perfect holiday knitting to get you into the swing of the season!
materials
1 set of double pointed needles 5US [3.75mm]
1 ball of Red Heart’s With Love in color Lilac
1 ball of Red Heart’s Boutique Fur in color Smoke
1 tapestry needle
Make sure not to twist your cast on!
Knitting in the round
CO 32 stitches, 16 on needle one, 8 on needle two and 8 on needle three. Join into the round and work in stockinette stitch for 2 inches. Start the heel flap. Knit along needle one, the one with 16 stitches and when you get to the end of your row, turn your work and purl back along those 16 stitches. You’ll be at the beginning of your row of 16 stitches again. Repeat knitting along this row and purling back until the heel flap is one inch, now we can start to turn the heel.
Turning the heel
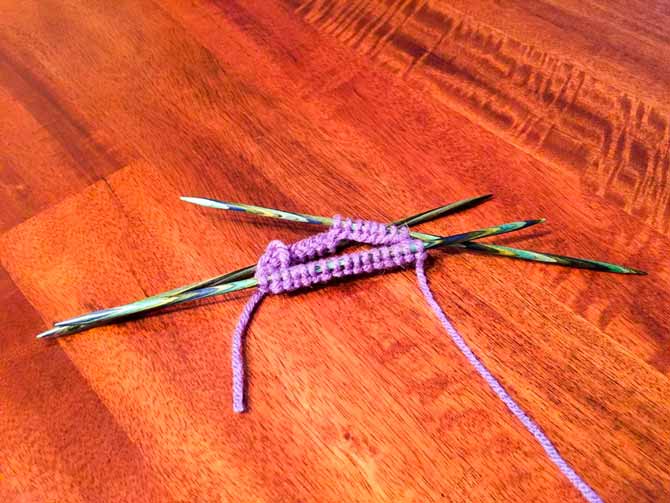
On the purl row, knit until you’re 5 stitches from the end of the row, p2tog, p1 and turn your work. Yes, turn it! Right there in the middle of the row. Slip the first stitch (the one you just purled) onto your right needle purl-wise. Then knit until there are 5 stitches left on your left needle; ssk, k1. Turn your work again; yes again, right there.
This is a swatch I knit up just to demonstrate the small gap you would see. Notice how it’s four stitches in from the right side? Those would be the two you knit together.
Look at your work and you’ll notice there’s a small gap in-between two stitches, where you did your previous decrease, on the purl side. Slip your first stitch again and purl back until you’re one stitch before this small gap. Purl the stitches on either side of it together; think of it like you are closing this small space. Repeat the decreases on these two rows until there are no more stitches that need to be worked; ending right after you’ve finished a knit row.
Picking up stitches
Pick up stitches along the edge of the heel flap, one stitch for each row (this will be your new needle one). Use one needle to knit across the stitches being held on needles two and three. This will now be needle two. Pick up stitches along the other side of the heel flap (this will be needle three). Count your stitches on needles one and three, divide by two and make sure you have the same amount of stitches on both needles.

Your stocking will look kind of funny while you’re picking up stitches, but it all works out in the end!
Knit one round plain. If you end up with an odd number of stitches, do one decrease on this round, either k2tog at the end of needle one or ssk at the beginning of needle three, depending on where you have placed this extra stitch. Repeat row one and two below until you have 8 stitches on needle one and 8 stitches on needle three again.
Row 1: K until 3 stitches before the end of needle one, k2tog, k1 | k all stitches on needle two | k1, ssk, knit the rest of the stitches from needle 3.
Row 2: K all stitches.
After you’re back to a total of 32 stitches (8, 16, 8) knit plain for an inch and a half before you begin toe decreases.
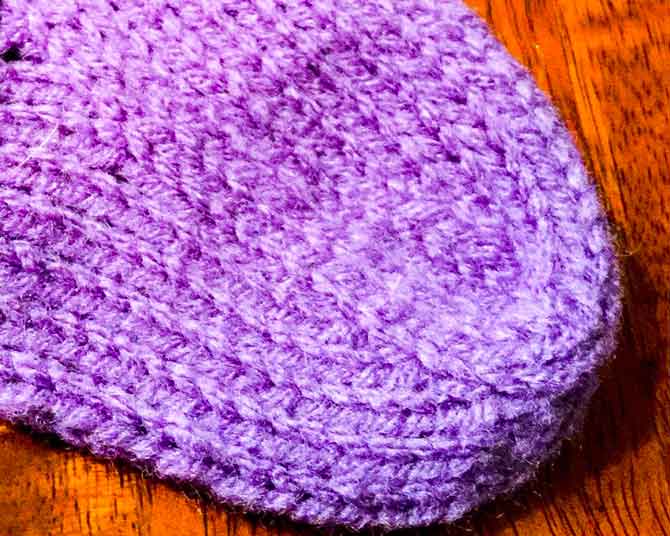
This is how your toe decreases will look when you’re done!
Toe decreases
Row 1: K until 3 stitches before the end of needle one, k2tog, k1 | k1, ssk, k until 3 stitches before the end of needle two, k2tog, k1 | k1, ssk, knit the rest of the stitches from needle 3.
Row 2: K all stitches.
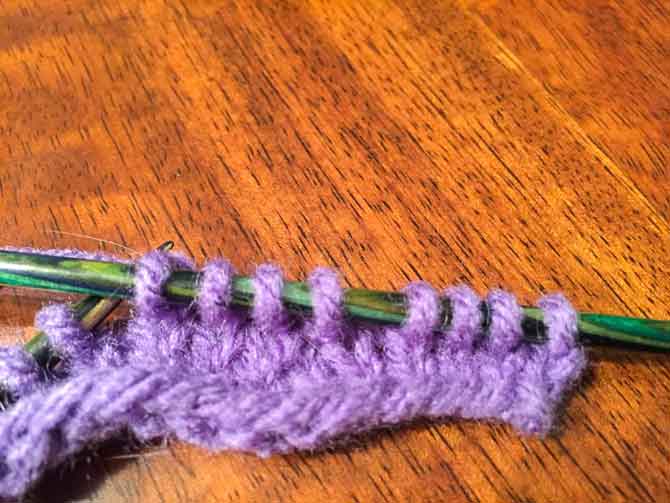
Repeat these two rows until there are 16 stitches left in total (4, 8, 4). After you finish your last row on needle three continue knitting with that needle so needle one stitches are now on needle three and your yarn comes to the end between the two needles. Now you’re going to Kitchener stitch the toe shut!

This is what it should look like before you start your kitchener.
The Kitchener stitch
The Kitchener stitch isn’t as scary as it seems and will be like a mantra when you memorize it. Here’s a link to the pin cushion made from Red Heart’s cordial yarn where we first talked about the Kitchener stitch. The instructions are at the end of the pattern if you’re still in the process of mastering it and need a little extra help.

Don’t pull the fur too tight or you won’t be able to get your needle into the stitches on the second row!
Adding the fur trim
The main body of the stocking is now complete! Now all we need to do is add a little festive pizzazz.
Take your Boutique Fur and use it to pick up stitches around your CO edge of the stocking. Pick up one stitch with the Fur for every two stitches of With Love; the Fur is much bulkier. You can use the same size double-pointed needles, but keep your gauge loose. If you pull the stitches very tight you won’t be able to find them in the fluffiness of this yarn. Pick up your stitches in the round, knit one row plain and BO on the next row. This creates a lovely Fur cuff around the top of your stocking.
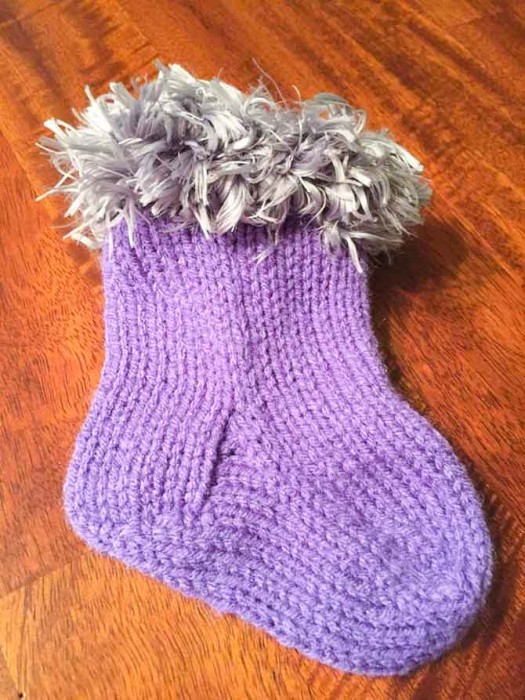
Finished product!
So many elements wrapped up in this simple little holiday stocking!
- It’s a great project to learn how to knit socks, learning the 6 essentials including a trim for the holidays.
- For those of you who already know how to knit socks, it offers a chance to play and deviate from your standard holiday colors while still keeping it festive. The Boutique Fur yarn adds oomph to the plain stocking.
- This little stocking is ideal to tie to a present and stuff it with chocolates.
- It’s an outstanding stash-busting project to make room for incoming holiday yarn from your wish list!
Get cracking – 4 and half weeks to Christmas!