I started out this series of posts with Loop-it yarn and put it through some paces: the finger knitting for which it was designed, adding knitting needles to help organize the loops and teach basic knitting principles and even using it full-on with broomstick needles. Then, I introduced you to Pomp-a-Doodle, an evenly-spaced pompom yarn that has numerous craft applications.
Both Loop-it and Pomp-a-Doodle are made of 100% polyester, which makes them great for projects that will be washed often.
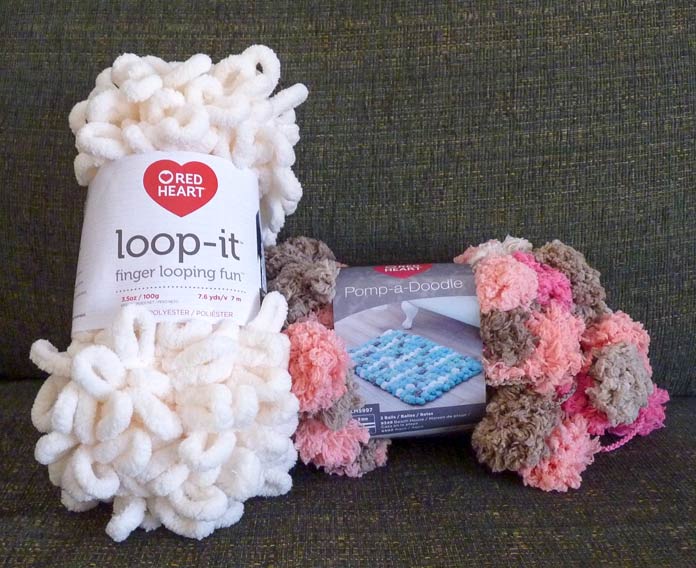
Loop-it and Pomp-a-Doodle make an interesting duo!
In my last post, I combined the two yarns in a swatch with a view to making a bath mat. As I was finishing the mat (I chose to hem the ends), I discovered that this would be a fabulous lap rug for anyone in a wheelchair because the combination is warm! I used the rug for a lap robe one night while I watched television!
That same night I came up with a neat idea for a little girl’s bedroom. A bed scarf, like the ones they have in stylish hotels, but with pompoms, and a fluffy background that can be snuggled up around a chilly child at night. How girly!
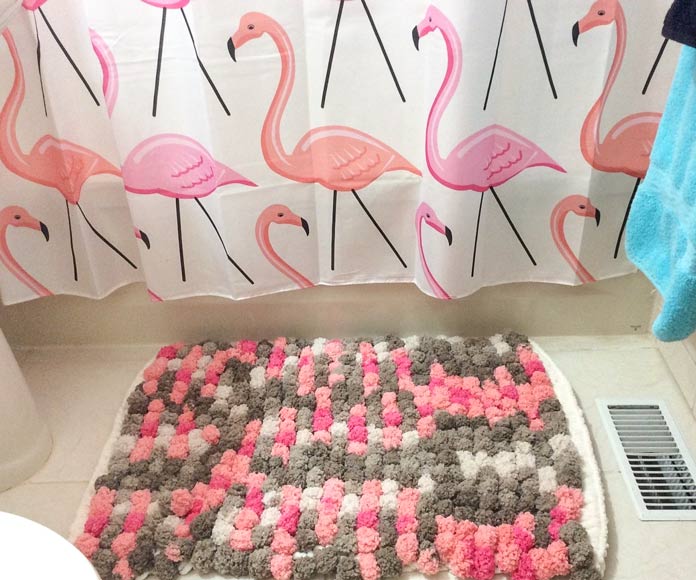
I chose the Pink Sand colorway because my bathroom wallpaper is soft pink with sea shells and the tile is beige, but this colorway actually goes better with my ‘pink flamingo’ shower curtain. I love it!
Loop-it and Pomp-a-Doodle bathmat
materials
3 balls of Loop-it (Yarn A)
4 balls of Pomp-a-Doodle (Yarn B)
sock or baby yarn in a complementary color for anchoring ends and a hemmed edge (if desired)
Circular knitting needle size 11 [8mm]
Tapestry needle
gauge
6 sts to 4″ [10cm] over stockinette stitch, but gauge is not important
measurements
24 x 36″ [60 x 90cm] before hemming
special instruction – Slide
At times, the next yarn needed will be at the ‘wrong end’ of the knitting. When instructed to ‘slide,’ slide the knitting to the opposite end of the circular needle so work can continue with the correct yarn for the next row. Do not turn the work at the end of a slide instruction.
instructions
Count off 40 loops of Yarn A.
Row 1: K 36 loops, turn work. The 4 leftover loops are worked in on the next row.
Row 2: (K 1 loop from ball, k 1 leftover loop) 4 times, k to end of row.
Row 3: Join Yarn B, leaving a tail of 4 pompoms. (K1, k1 from tail) until the last pompom from the tail has been worked in, k to end of row. Slide work to the other end of the needle
Row 4: With A, p across. Turn work.
Continue in pattern, as follows:
Row 1: With B, p across. Slide.
Row 2: With A, k across. Turn.
Row 3: With B, k across. Slide.
Row 4: With A, p across. Turn.
Repeat these 4 rows until mat is 2″ [5cm] short of the desired length. Break B, leaving 4-5 pompoms, and work these into the next row of knitting.
If the last B row was a Row 1, k 4 rows with A.
If the last B row was a Row 3, p 3 rows with A.
Cast off.
finishing
With a length of like-colored sock or baby yarn, stitch the last few loops of Loop-it to the underside. Hem the ends of the Loop-it under, if desired.
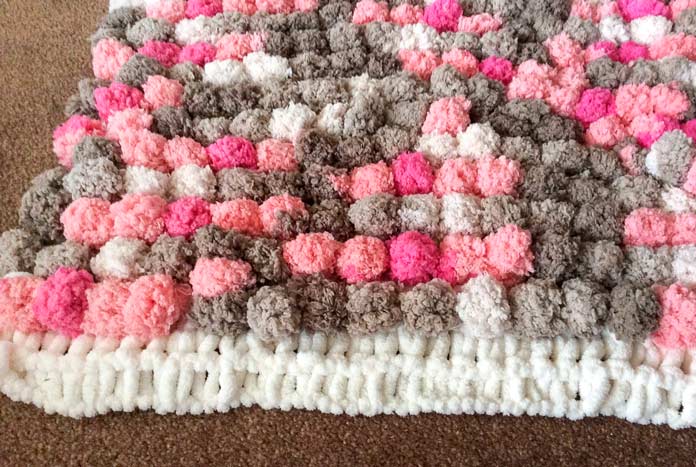
This is the mat as it looks from the cast on edge with no hem turned under.
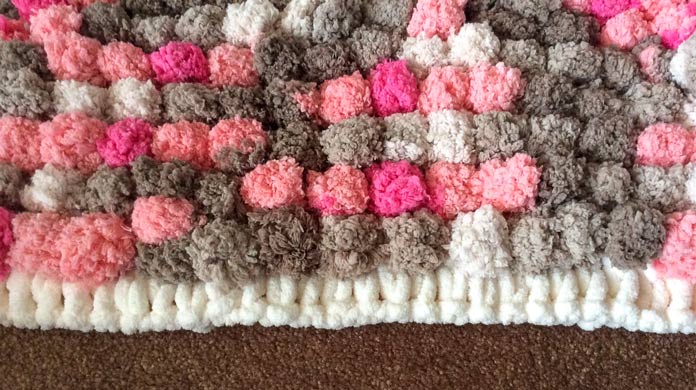
In this photo, the cast on edge from the photo above has been turned under at the first ridge.
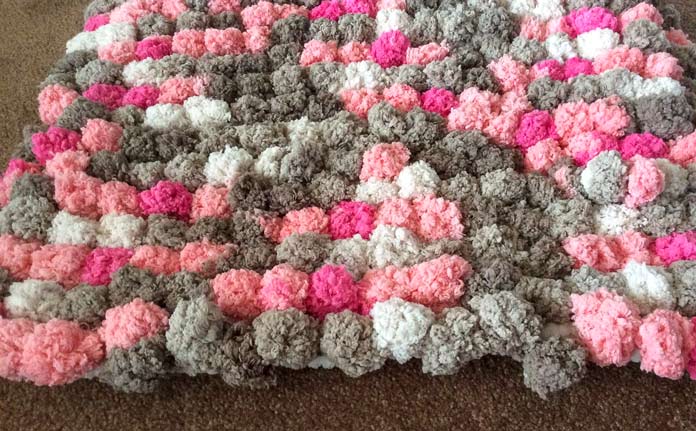
In this photo, the mat has been finished with a full hem, which hides the Loop-it yarn almost completely.
As I was knitting this bath mat, my ‘laddie’ proclaimed that he has trouble finding a bathmat small enough to fit in his postage-stamp bathroom, which was an afterthought in his century-plus old home. I’ll need different colors, but I think I’ll make him one and a spare!
Bed Scarf
To make a bed scarf, count off 31 loops of Loop-it, and knit 27 loops. This should make a scarf 18″ [45cm] wide. The materials for the bath mat should make a scarf about 48″ [122cm] long, so you might want to add one ball of each yarn to make it long enough to drape off the sides of the bed. It would look so adorable in a ‘big girl’s’ bedroom!
As you can see, I have had a LOT of fun reviewing these two yarns this week. I really encourage you to get out and get some young people involved with these yarns, whether you teach them to finger knit or make a pompom-themed craft project!
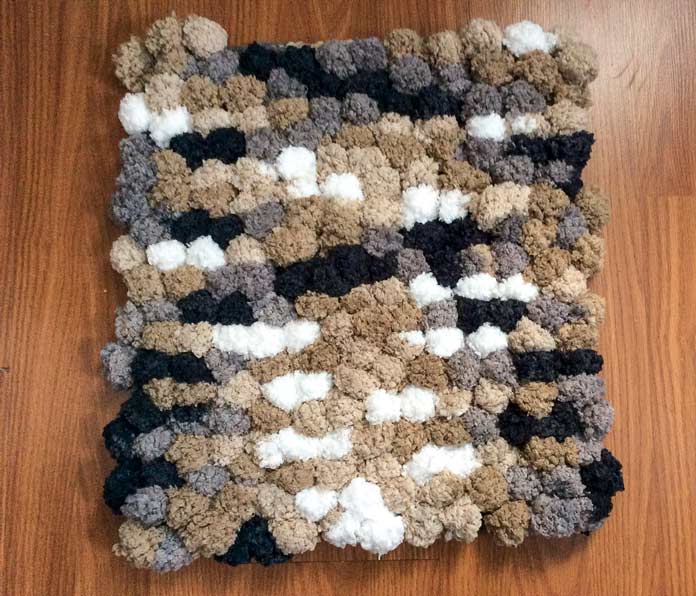
The weekend after I finished writing my posts, we bought the supplies to make a bathmat for the ‘laddie.’ This mat is about 18” square and uses the Granite colorway of Pomp-a-Doodle.
This is part 5 of 5 in this series.
Go back to part 4: Pomp-a-Doodle – yarn without pomp and circumstance
[shareaholic app=”follow_buttons” id=”23784471″]

1 comment
Hi, love the look of this bathmat. Problem is how do you knit the pomp a doodle row? Any chance you have a video on this?